


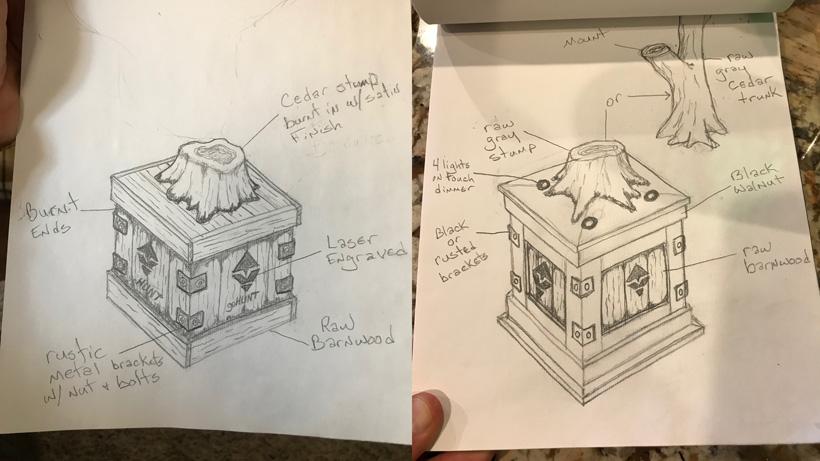
Drawings that Jimmy made after discussing what I was looking for.


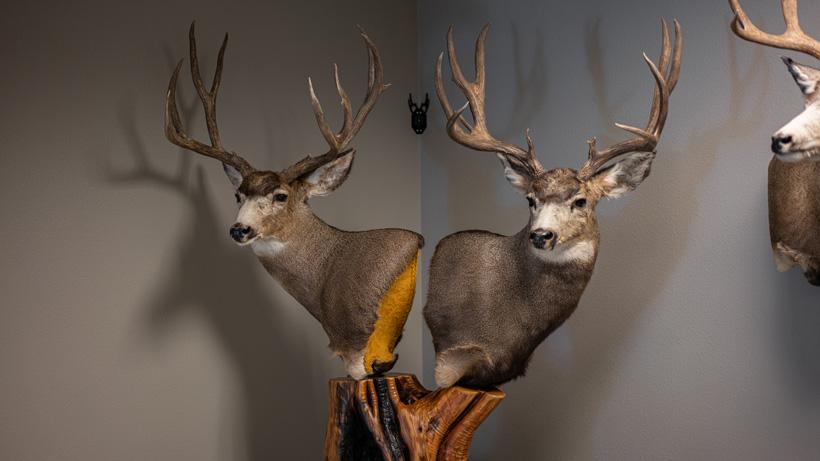

It's that time of year. Hunting seasons are opening up and, soon, you will hopefully be in the planning stages of trying to figure out how to display your next deer or elk mount. When it comes to admiring a deer or any animal for that matter, there's nothing better than a shoulder mount.
Every time you look at that work of art, you’ll instantly be taken back to all of those amazing memories. Over the years, I've really started to appreciate how much I prefer a shoulder mount over other means of showcasing antlers in my home.
But, with walls filling up, this year I wanted to do something extra special to pay tribute to two really amazing Colorado bucks I was fortunate to take in 2016 and 2018.
My search for the best way to display these bucks lead me down the path of having them displayed on a wood pedestal. I've always wanted to try a floor pedestal mount, but I never really found anything that I liked. After further research, I landed on the creative mind of Jimmy Tippetts of Tippetts Creative Design. I lucked out big time because Jimmy lives roughly 25 minutes north of me in Las Vegas. So after exchanging a few direct messages on Instagram, it was settled...I was going to have Jimmy work his magic and create the pedestal of my dreams!
With Jimmy living so close to me, I drove up to his shop multiple times to watch him create this pedestal. What follows is a photo essay of Jimmy's hard work in creating this amazing pedestal base.
Drawings that Jimmy made after discussing what I was looking for.
This is the part of the process that really stood out to me and it was fun to just let Jimmy think outside the box. After a few text messages back and forth, Jimmy told me he had a vision for what I was describing. The next day he sent me over his first sketch. Then—not even an hour later—he had a second sketch sent my way. Things were moving!
Jimmy had completed a lot of the initial work before I showed up, but he saved enough pieces so I could watch his process.
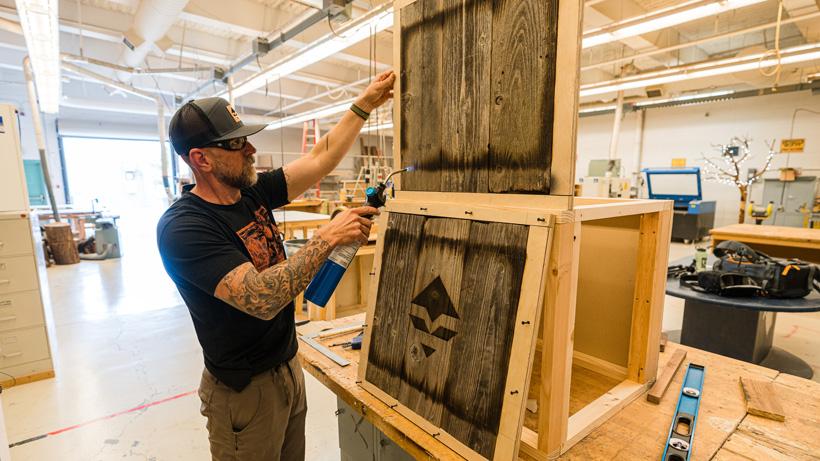
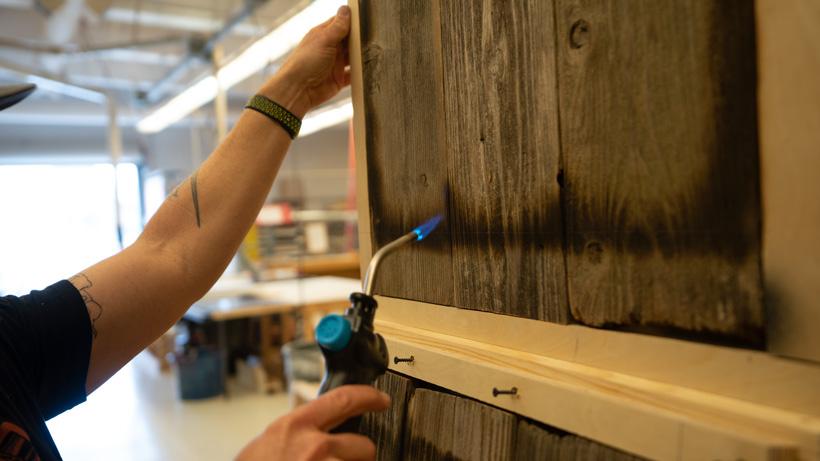
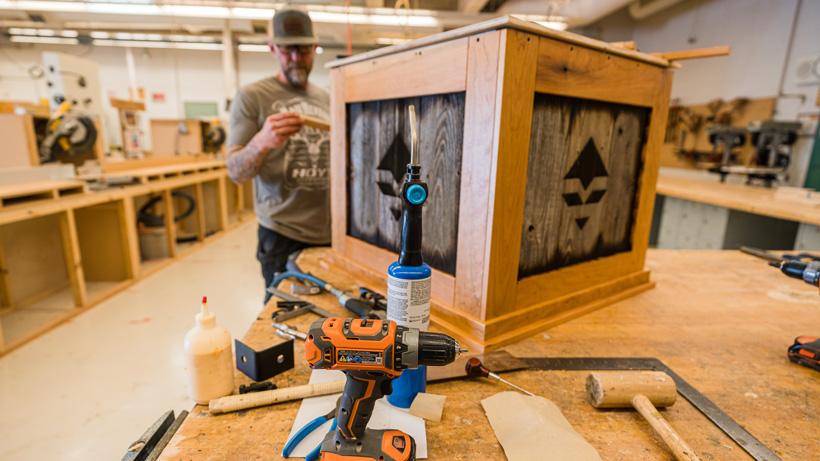
The first look I got was of the barn wood panels. At this point, Jimmy was marking where to add accents by burning the wood.
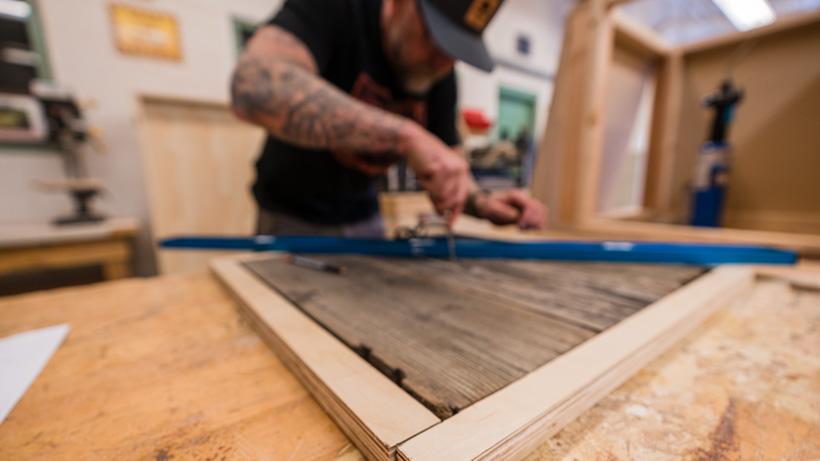
Next, he spent some time marking the center of the panel, which would come into play later when he laser engraved the GOHUNT logo.
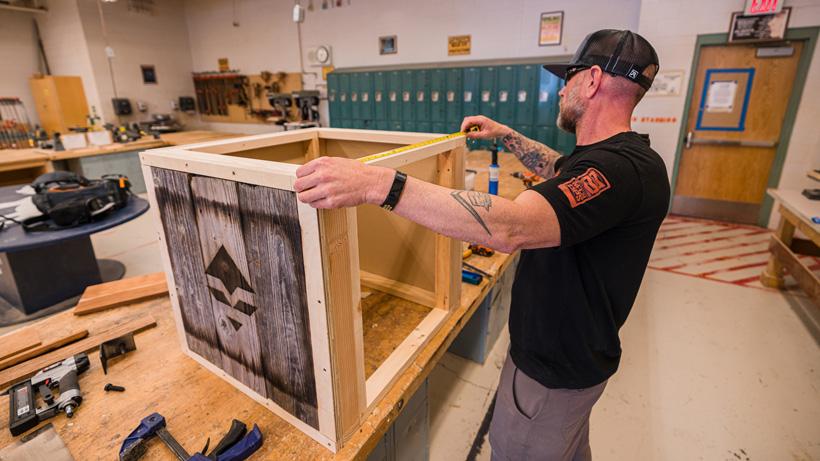
Always...always...measure twice and cut once. Jimmy has his measurement system down to a science and nothing gets overlooked.
Burning accents on the barn wood side panels. I don’t know what it is about this part of the process, but this was a cool stage to watch.
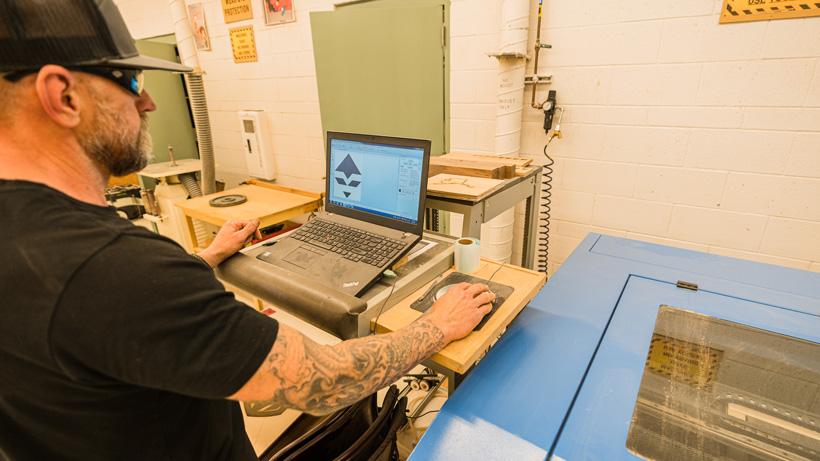
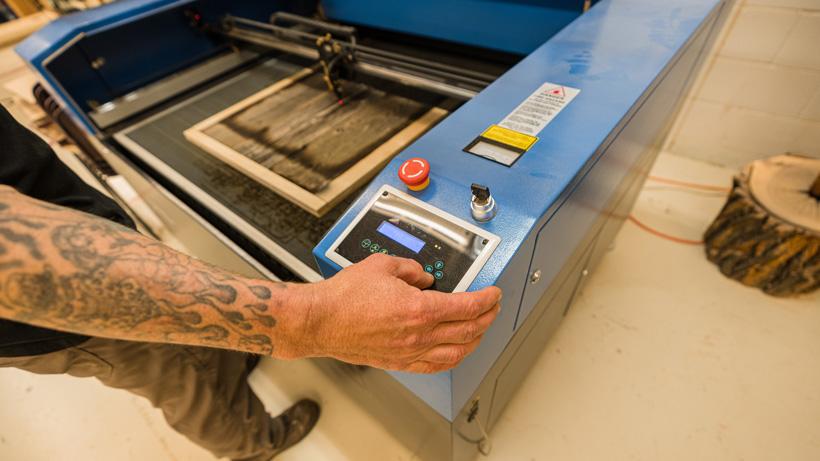
Jimmy saved a few pieces out the outside panel sections that still needed to have the GOHUNT logo burned into the barn wood. So we headed over to the computer and laser engraving machine to enter the logo specs.
Getting ready to laser engrave the GOHUNT logo to the barn wood.
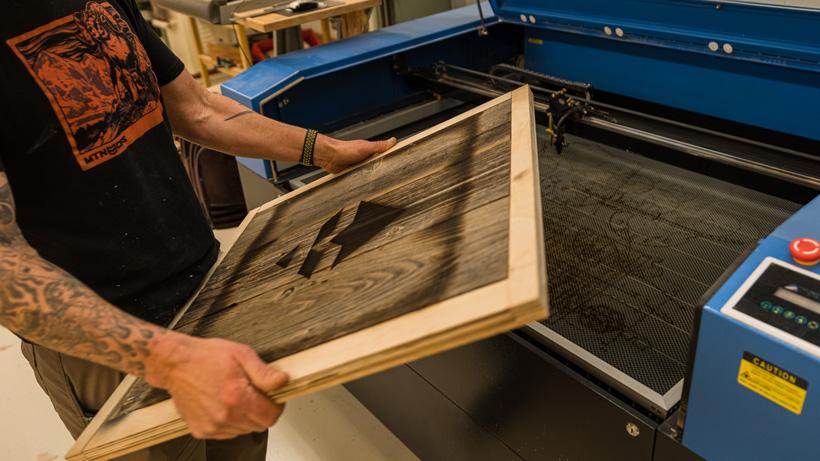
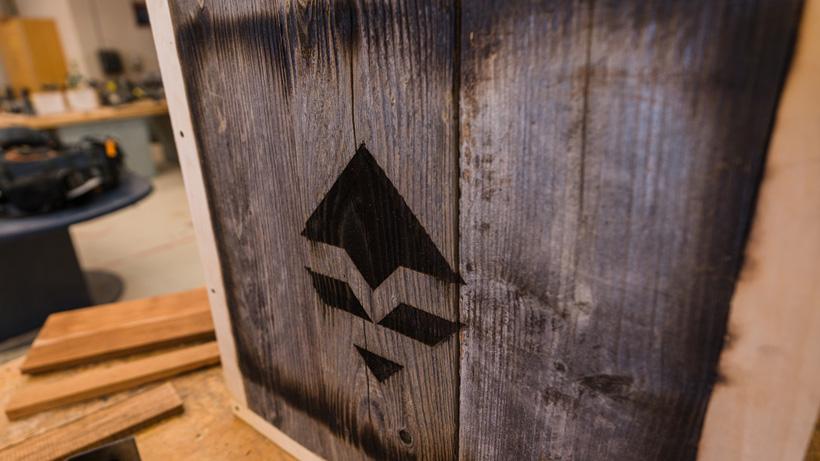
The completed panel of barn wood from laser engraving the GOHUNT logo.
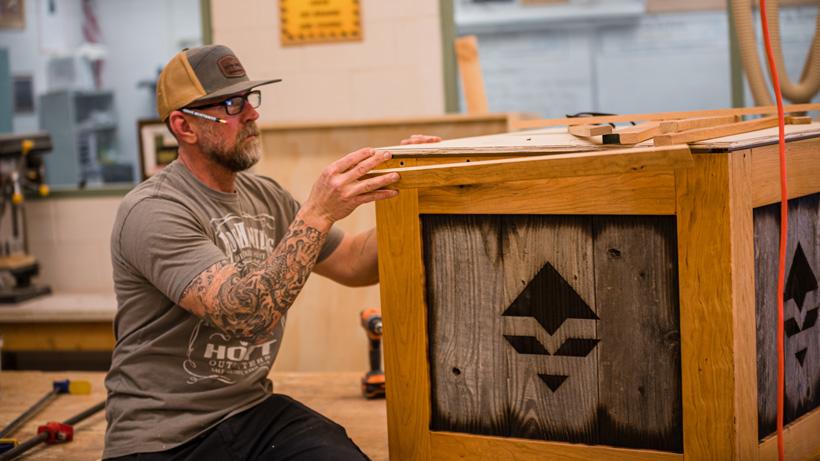
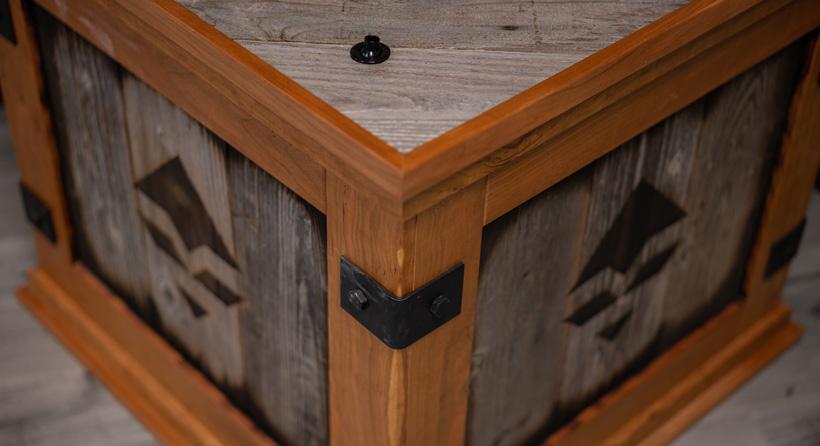
Finished look at the burned-in GOHUNT logo on the barn wood.
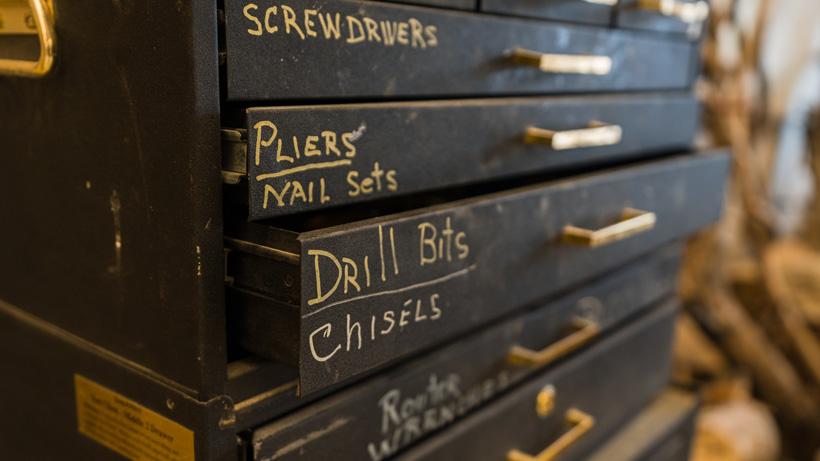
Random photo of some drawers in his woodshop.
Once again, before I got there, Jimmy had already been hard at work getting several things ready. This is the day the pedestal really started to take shape!
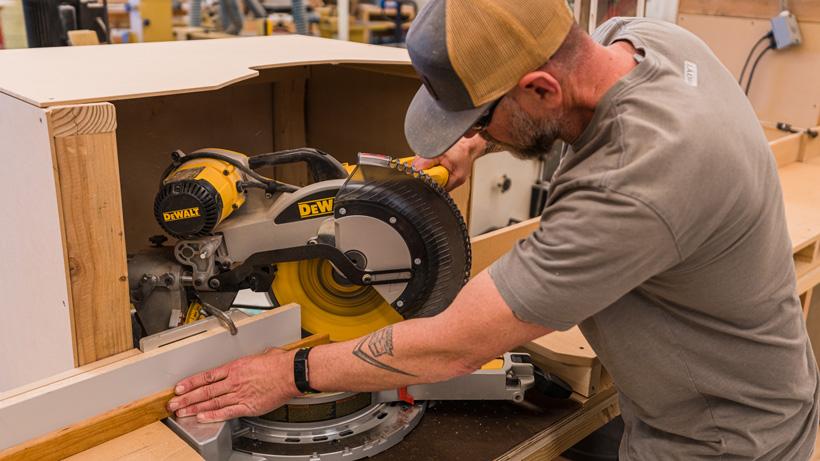
Cutting some of the outer trim pieces.
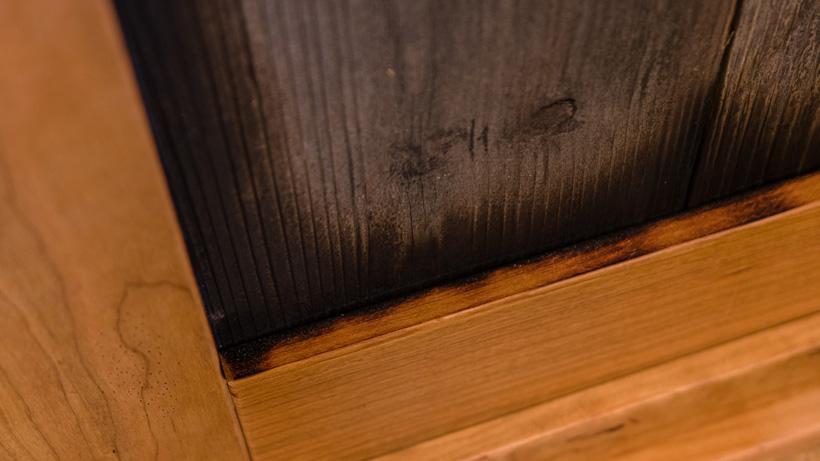
A close-up look at some extra burned-in accents that were added to the trim on the front panels.
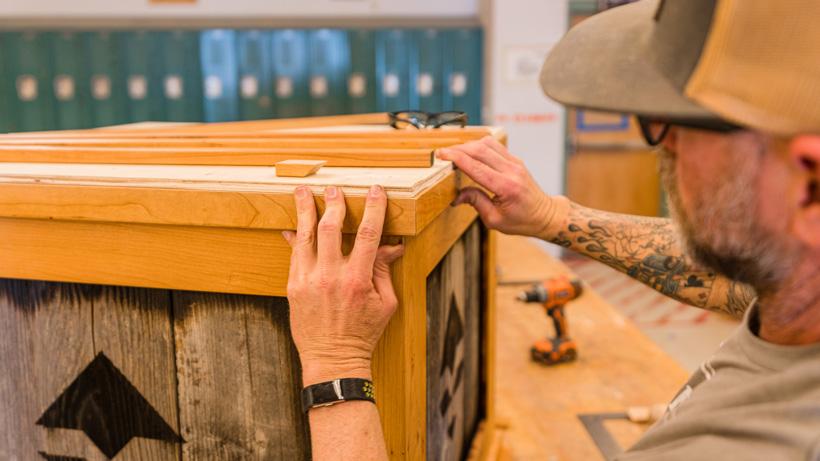
Mocking up the top trim.
Trim getting nailed down to the pedestal.
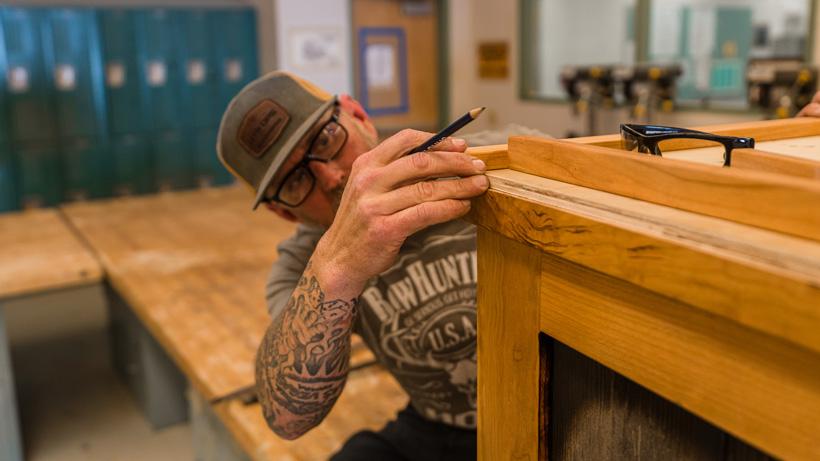
Jimmy is always 100% laser-focused on getting everything perfect.
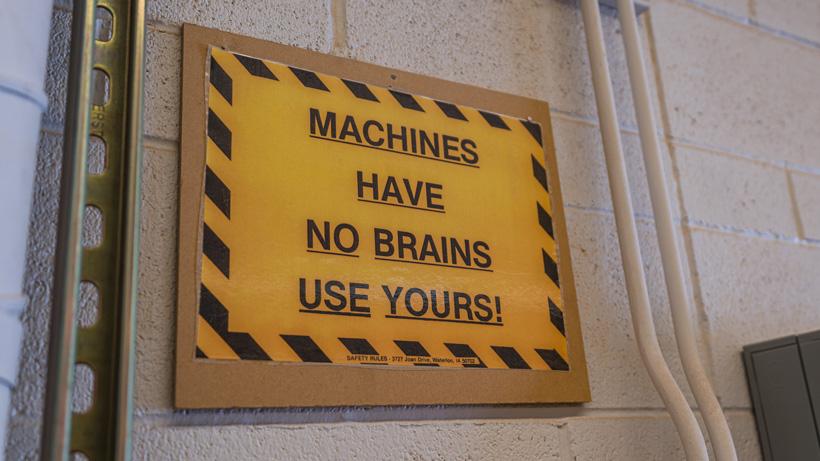
My favorite sign I found while at the shop...also words to live by when cutting wood.
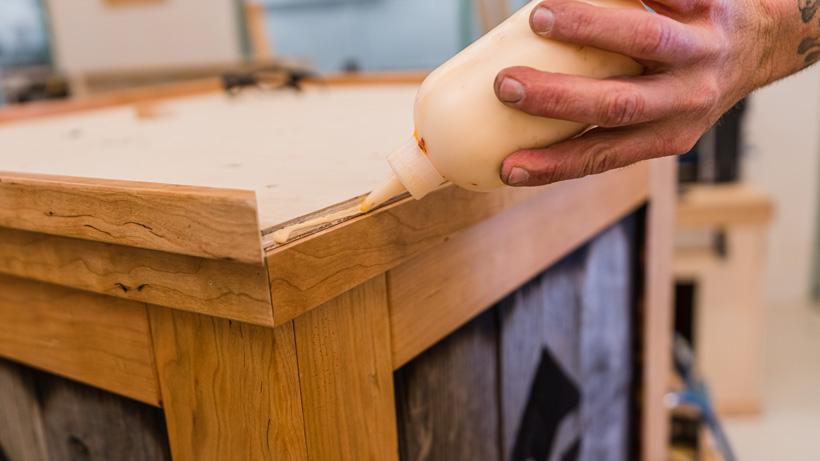
Applying glue to the top trim.
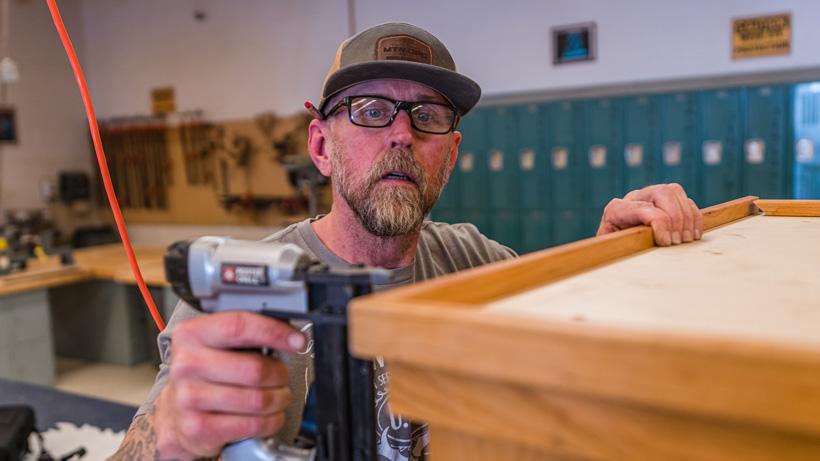
Nailing down one of the final top trim pieces.
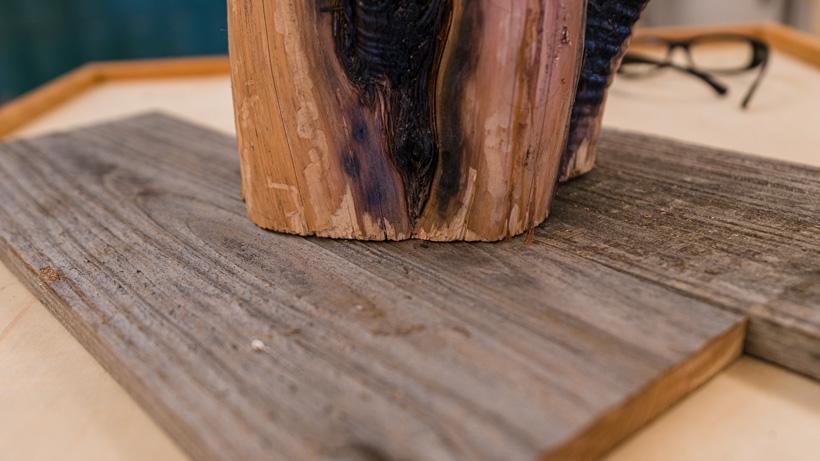
The last part of the day was spent taking random pieces of barn wood and mocking up what a stump would look like and which way to angle the barn wood on the top of the pedestal. The pedestal was taking shape!
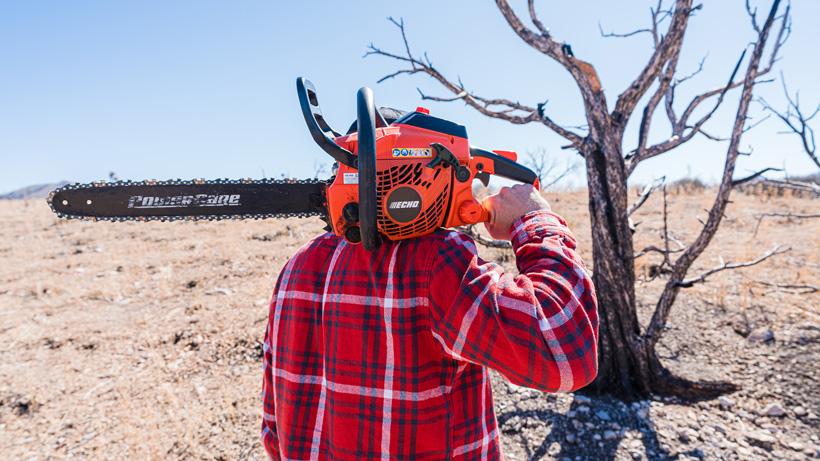
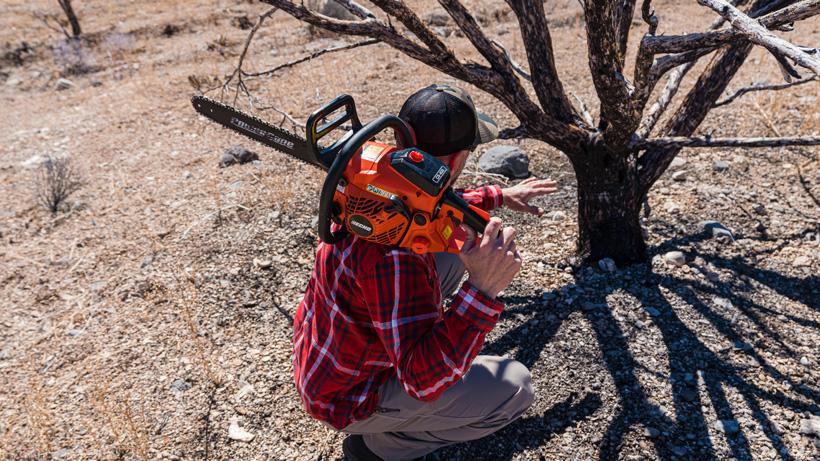
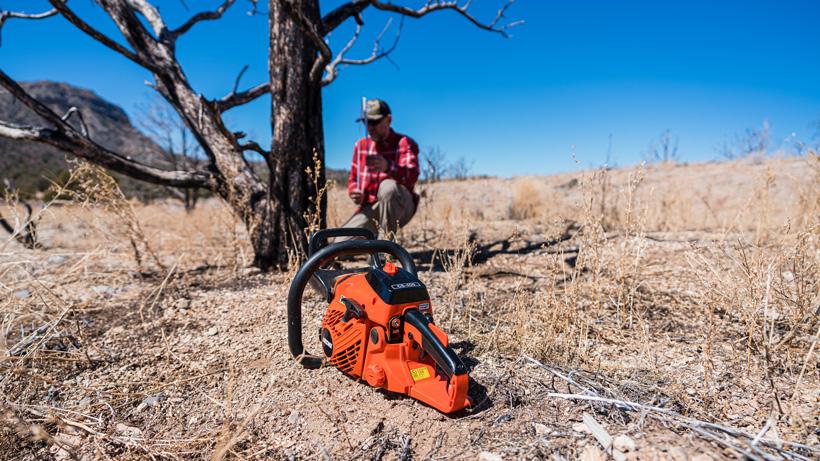
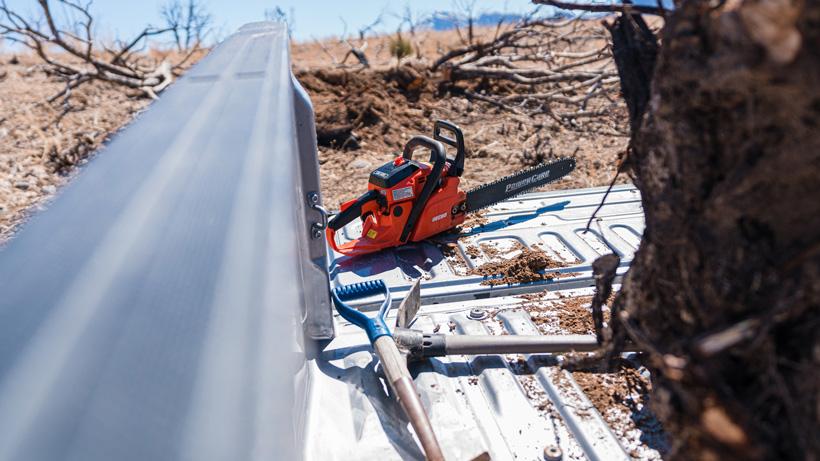
Now, onto the extremely fun day of stump hunting! After the pedestal base foundation was completed, Jimmy and I went out on a "stump hunt," which I can only describe as a more exciting form of shed hunting. We packed around a chainsaw, tape measure, pickaxe, a few ropes and a shovel. All of those items were very important in order to find and take the perfect stump to use to mount the mule deer bucks.
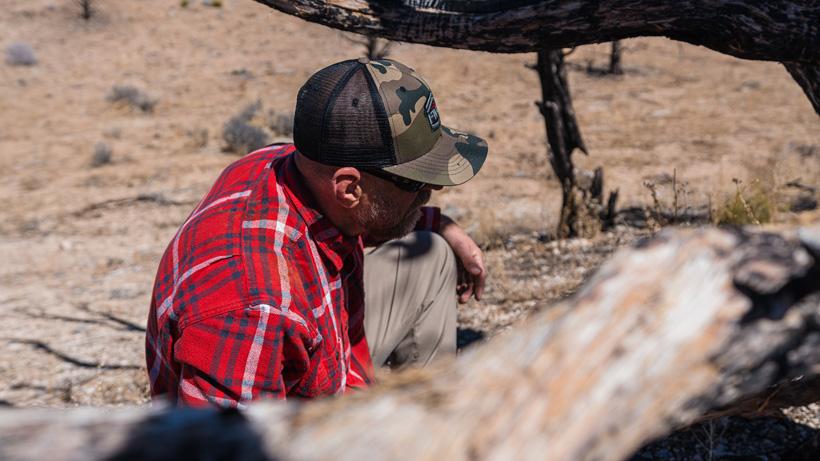
We started the day searching for the perfect stump by hiking from tree to tree in a burned area.
This is where things got interesting. Jimmy's hand was constantly waving around talking about each tree, the way the limbs were coming off the trunk and what he was looking for. He was literally a kid in a candy store.
You know you're dedicated to your craft when you spend time to gather your creative side. Jimmy just finished discussing what he liked and disliked about this particular stump.
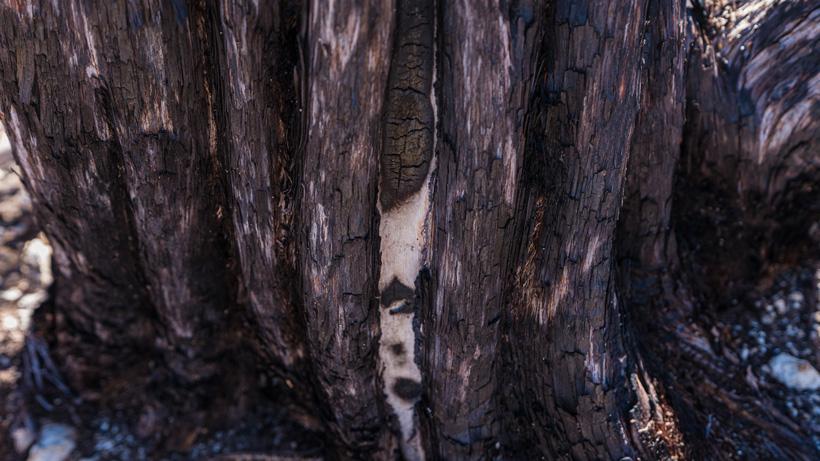
This is the stuff that got Jimmy excited! The level of texture in the bark would make for a good stump for the pedestal. However, the tree limbs were in the wrong spot so the search continued.
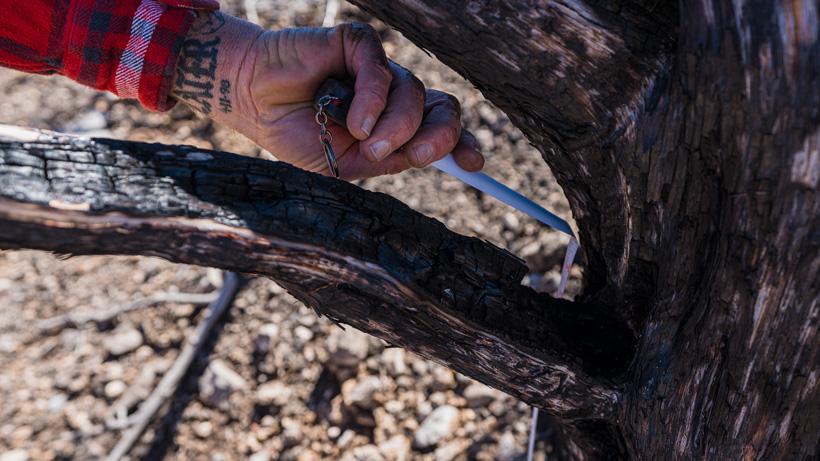
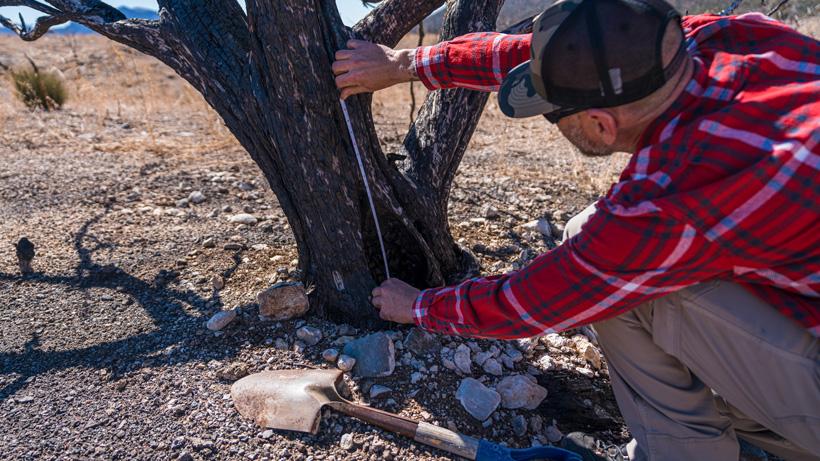
Measuring limb height on the tree stump.
More thinking...this time, the split-v on the tree was really nice looking and would work great for two bucks, but the problem was the split was too low to the ground.
We decided to move locations and, as we were driving up the road, I mentioned to Jimmy to stop. I pointed off to my right at what I thought could be a good stump. After Jimmy pulled over, we hiked our way over to the tree and instantly Jimmy's eyes lit up. This could be the one! Jimmy once again busted out his tape measure and began grabbing measurements of the stump diameter, how tall the stump would be and where the limbs came off the tree.
The next part was trying to get a good look at what the tree roots were doing. The tree roots could make or break the setup he had in mind. Jimmy told me the roots have the potential to add a ton of character to a pedestal.
After 20 minutes of analyzing the tree, we decided this was the one! Now we needed to remove extra branches to make the stump lighter.
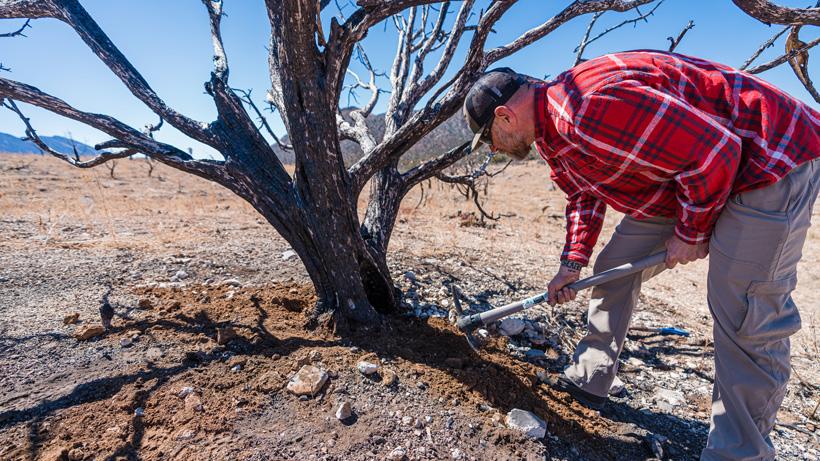
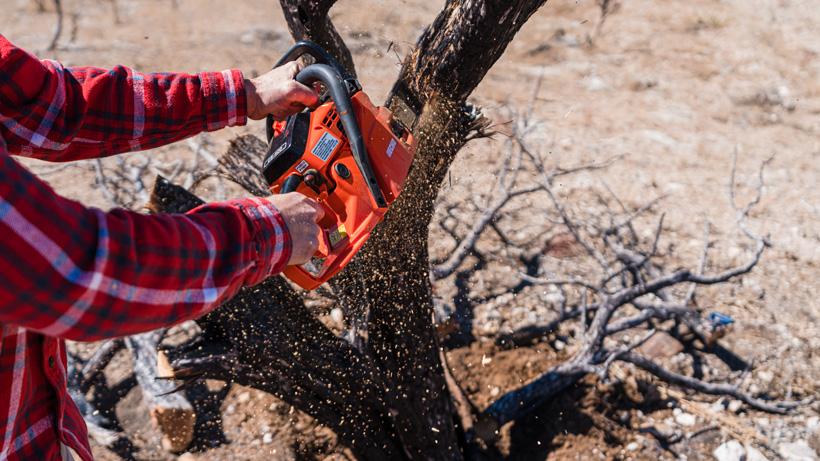
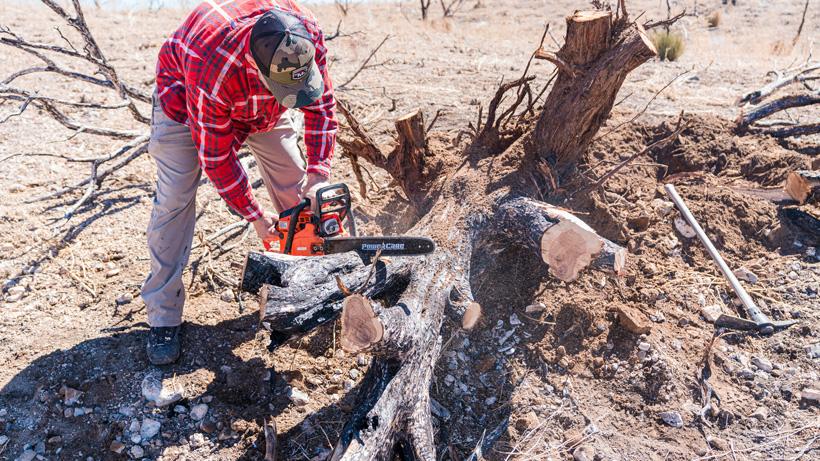
We used the pickaxe and a shovel to dig out the roots. Then, Jimmy cut them with the chainsaw until we could finally push the tree over. Next, we had more weight reduction to do so we could carry the stump back to the truck.
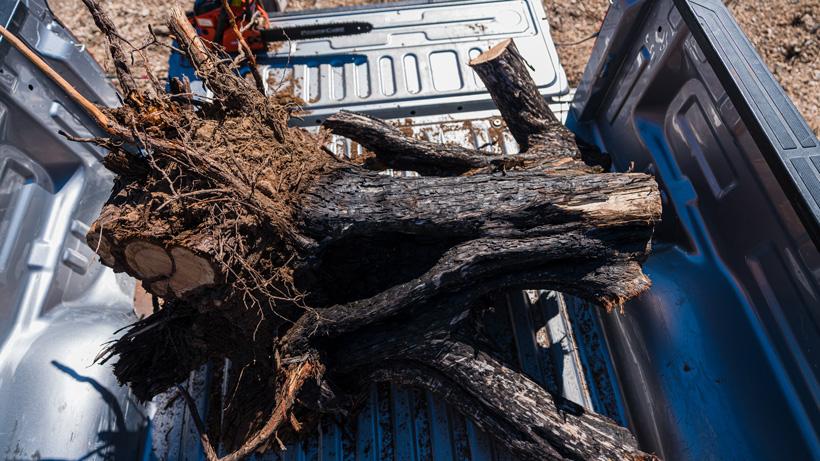
After a ton of time and one dull blade, we finally had the stump back to the truck!
A lot of hiking and some well-earned sweat went into collecting the perfect stump.
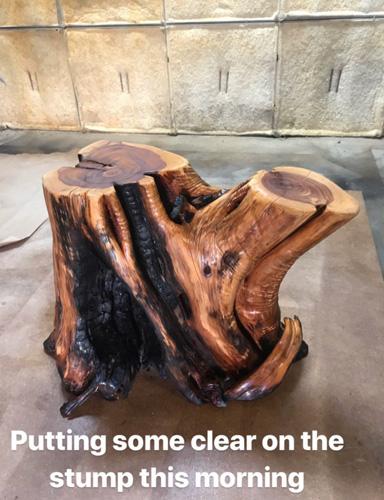
The above image is from an Instagram story that Jimmy did after he finished cutting, sanding, and applying a clear finish to the stump.
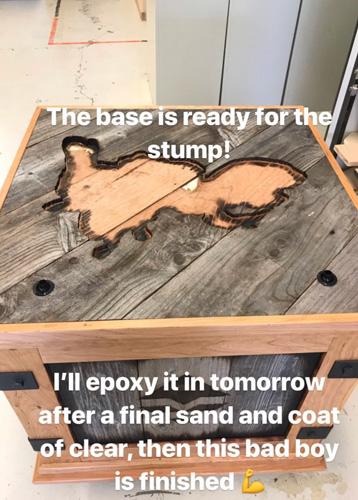
Another Instagram story from Jimmy. You can see the level of detail that went into cutting out the stump area!
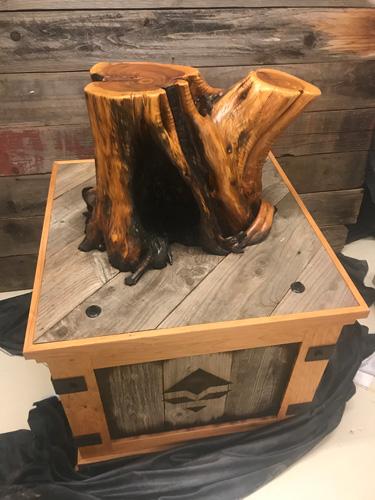
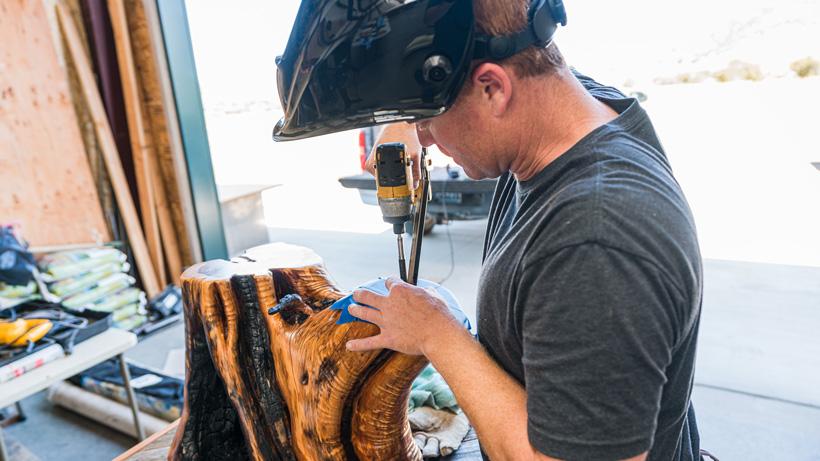
After Jimmy worked his magic on the stump (power washing, sanding, and final cuts), he attached it to the pedestal base. The above image was my first look at Jimmy's amazing work! When I picked this stump up, I was literally speechless.
After I picked up the base, I drove it to my taxidermist's shop to pick up my 2018 buck and get the brackets welded up. A little extra work had to be done to my bucks because, normally, you have the pedestal built first and then you can mock up the deer manikins before the mount is complete. So this process is backwards with how you would normally go about this. On top of everything, we had to convert my 2016 from a wall pedestal into a floor pedestal. My taxidermist Jason Schillinger of Schillinger's Taxidermy did a phenomenal job on the mount and I was really looking forward to seeing my 2018 buck again.
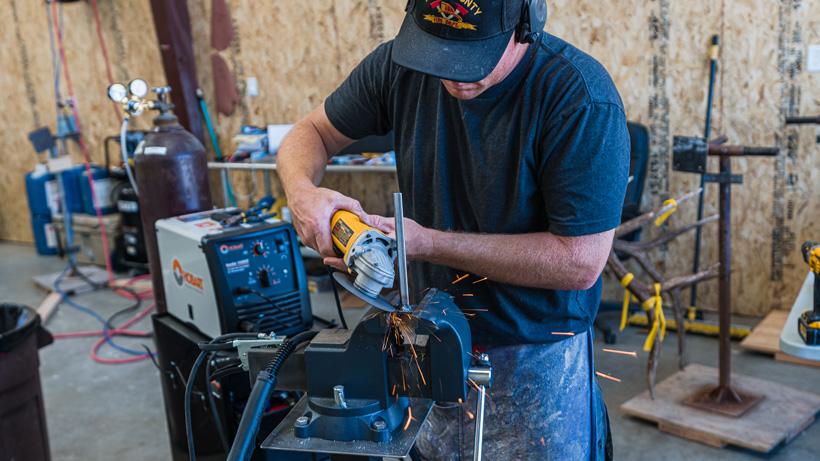
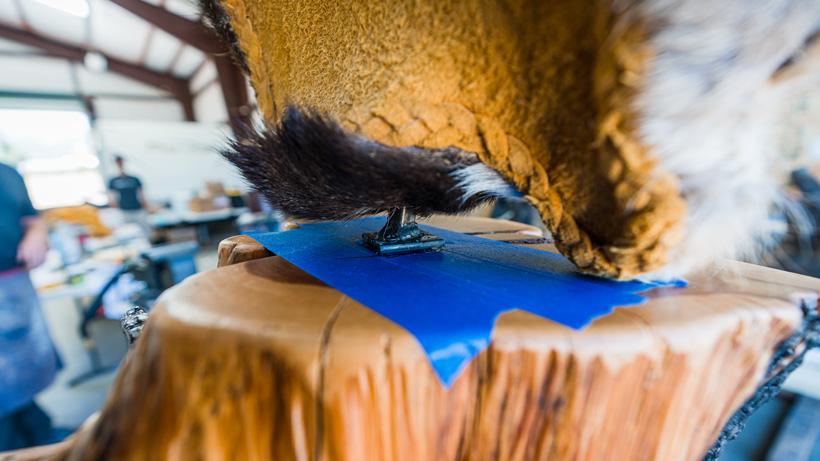
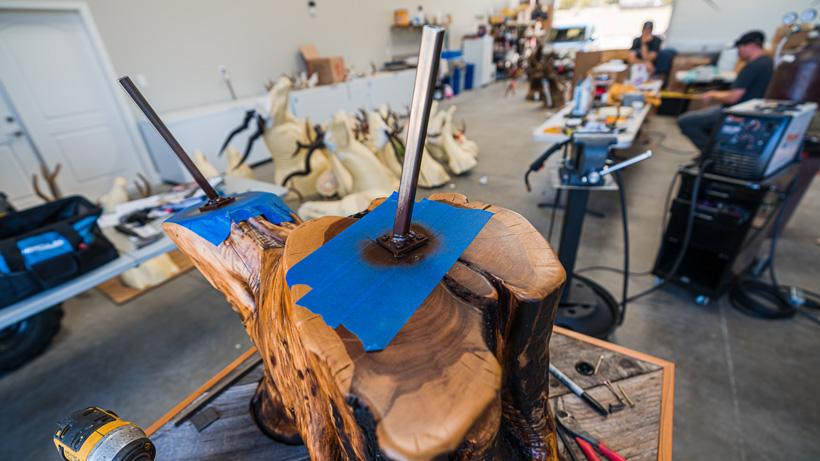
Mocking up metal brackets for the deer mounts.
Cleaning up the bracket and working on the correct angle.
Visualizing the angle of the bracket.
Close up photo of both brackets.
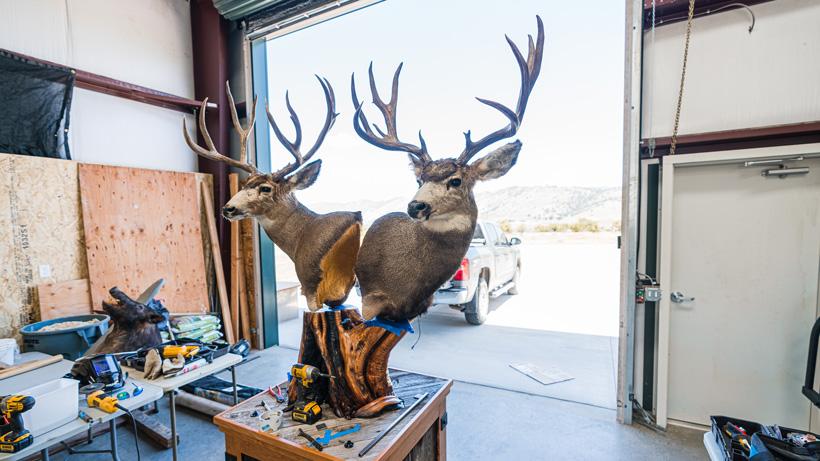
The first view I got after a few hours of work at the double mule deer pedestal mount.
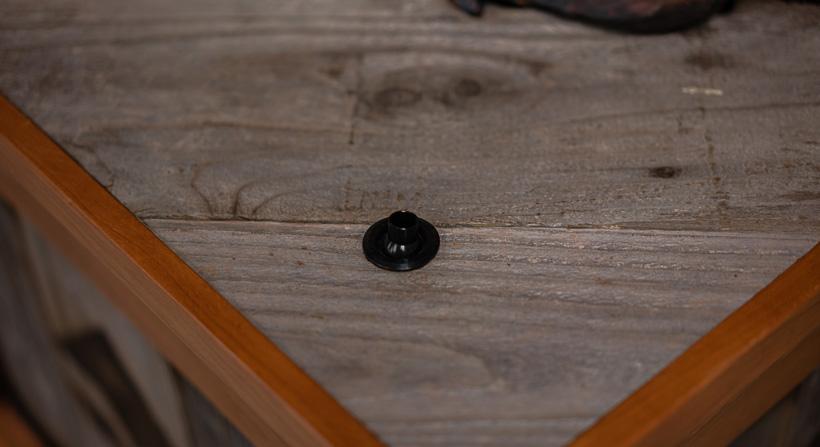
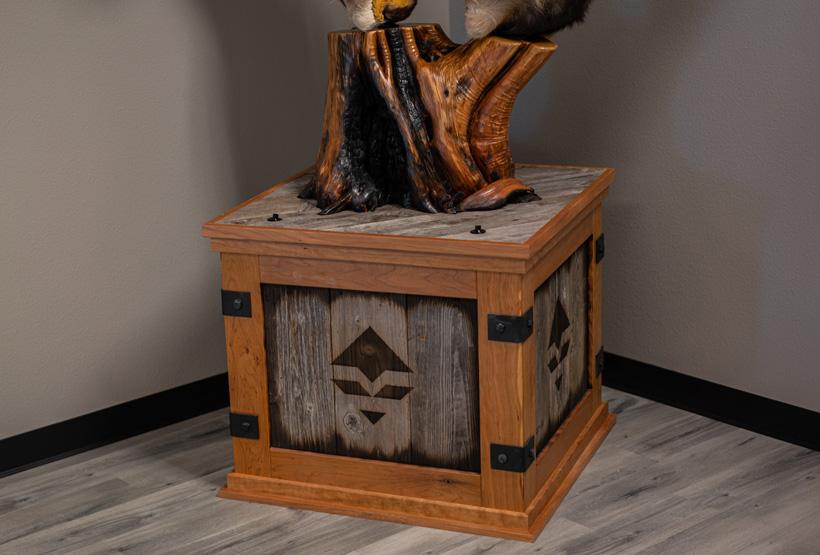
Jimmy built in small directional lights on the pedestal. These are perfect for highlighting the bucks.
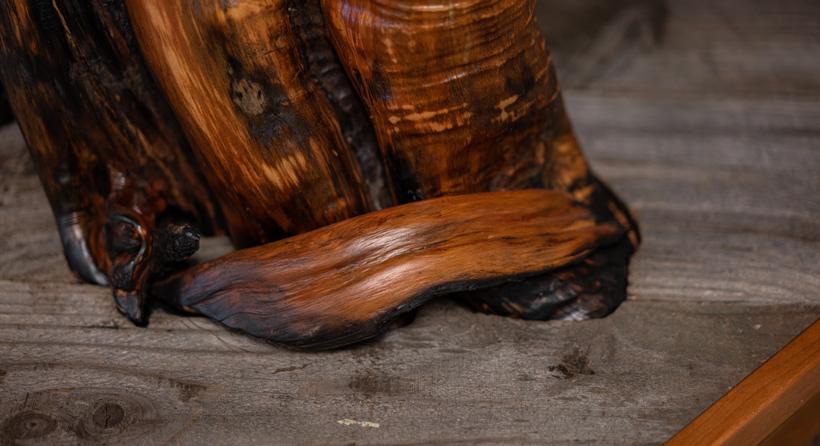
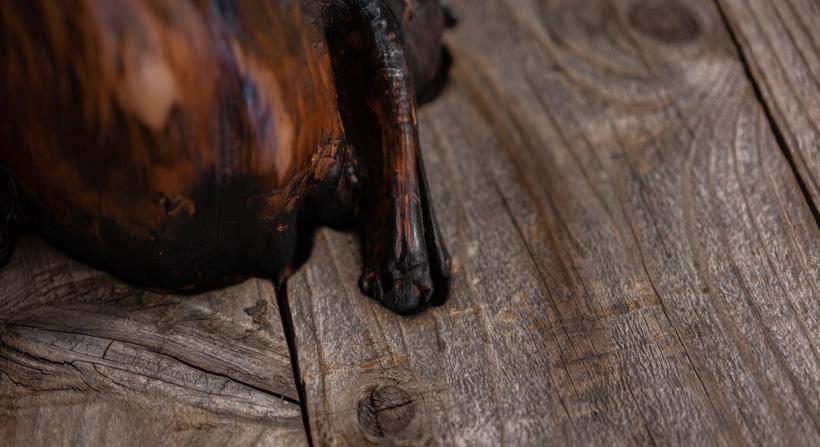
The unique feature of the tree stump and the work it took to router out the barn wood greatly added to that look I wanted.
I really like how the rustic metal brackets complete the look Jimmy had in mind.
The finished look of the pedestal base.
As you probably have noticed by now, Jimmy's mind is on another level! What he can imagine in his head and how he sees things in the field is on a level like I have never seen! And then, from there, he goes even further by turning those thoughts to art. I could have never imagined a pedestal like this and Jimmy nailed it out of the park! If you want to check out more of Jimmy's work, I highly recommend that you jump over to his website here or check out his Instagram page that has tons of examples of previous work.
I know one thing... each day I look forward to walking past this pedestal mount!