



Nothing beats a heavy round of digital scouting to get you excited about an upcoming hunt. I’ve talked about some of my favorite features of Google Earth on a previous article about unlocking the power of Google Earth scouting, but this time I thought I would talk about my strategy for using Google Earth for preparing for a hunt that I have never laid boot tracks in. Let's face it, this is pretty typical for a lot of people who can't make it out to scout for every tag they draw. Or maybe it was a great year and you drew three to four out of state tags and a few hunts will have to go unscouted.
In theory, drawing the tag is the easy part... the part after you draw the tag is what separates the successful hunters from the unsuccessful hunters. Even though I have to go into a few of my hunts blind each year, digital scouting makes the mountain and hunt seem so much less intimidating.
Digital scouting is an art. Over time you will get better at identifying which habitat and terrain features are the ones that are most likely to hold a mature animal. Sometimes you might only need to decide between three drainages and other times you might have to dissect a 15 miles area that is filled with basins until you figure out what will work best for your style of hunting. I really try to hone in on the needs of mule deer. Food, bedding areas, water, escape routes, difficulty of access and how they are all connect are the top priorities for me.
My first stop is diving into the information that can be found on the unit profiles for the areas that my tag might be valid for on Insider. After that I instantly switch over to aerial maps. My choice is still Google Earth Pro, although I’d use ArcGIS Earth by ESRI if their system was compatible with Mac.
Below I’ll give you an example of my research process that have I used on a few of my recent hunts where I didn’t have time to get boots on the ground scouting. This is the process I use to get as dialed as I can before I step foot in the mountains. By the time I am done on Google Earth I want to know everything there is know about a certain part of the unit. I’m basing the following research off of mule deer, but you can apply the same principles to elk or other species.
I start off by looking at what habitat might be the higher producer of big, old and mature bucks. A great article on this subject was recently written by Robby Denning of Rokslide. You can find that artice here. Most of the time, I prefer a backpack style hunt, so I am looking at places off the beaten path. Once I have compared several units I’ll begin my process of creating pre hunt waypoints. The key takeaway is identifying a handful of areas in the unit to start to your research. Certain areas in a unit will hold more deer than others. Finding those spots takes a combination of years in the field learning deer country and hours spent scouting on Google Earth comparing what you learned in the field.
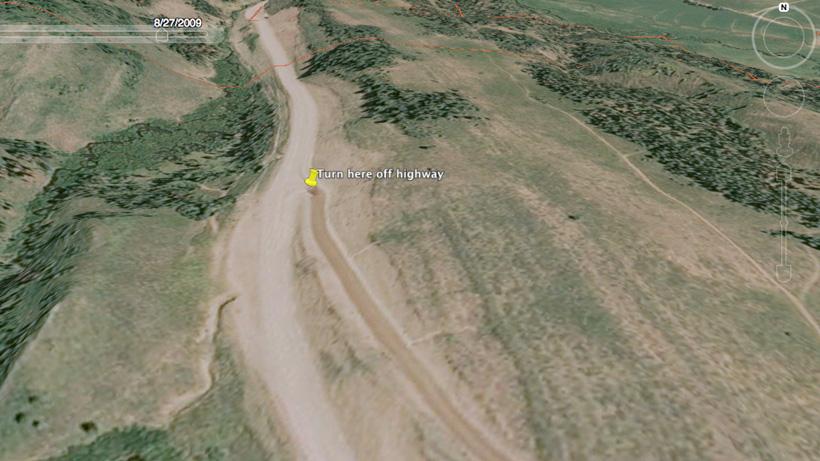
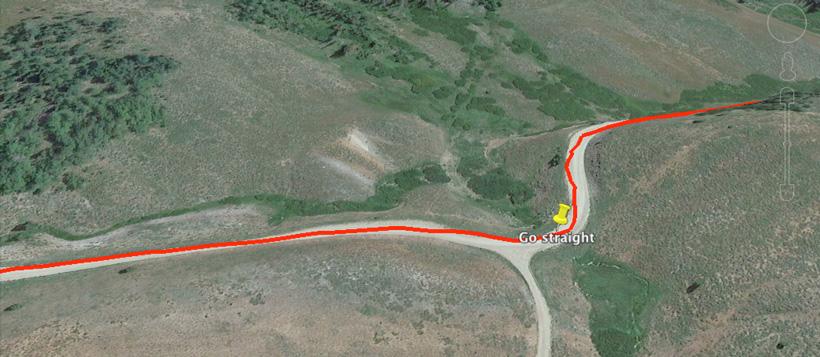
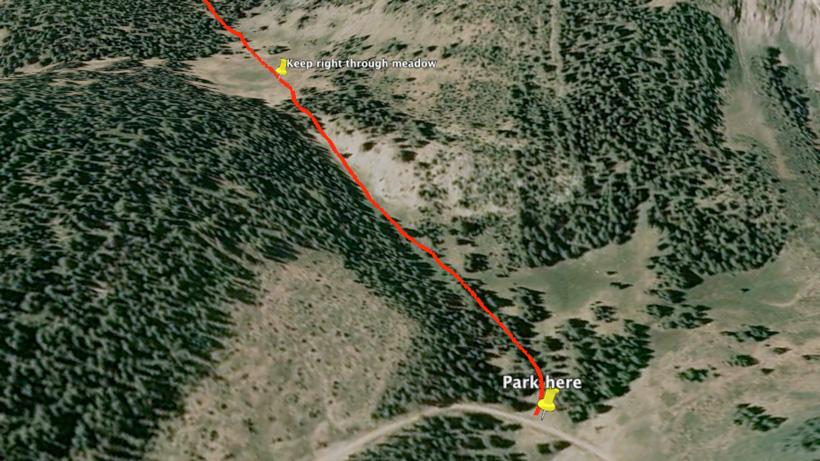
Most of the places I like to hunt you simply can’t plug the place name into a vehicle GPS and you’ll get there. Mountain roads and trails do not show up on certain maps. So to make my life easier, I start off by marking all of the turns and roads I'll take while I am in my truck once I’m off the main road. I will mark my first turn off a highway and every complicated section along the way. Note: the more waypoints the better in this situation. Don’t be afraid to mark areas that have forks in the road, water crossing, etc. An area with a fork in the road I might label “Keep left” or something similar. This is especially important if you're hunting remote two track roads in sagebrush country. Trust me... everything looks the same in that country and waypoints are crucial.
You could also create a path of your driving route. The only reason I avoid this is because a long path takes forever to make on Google Earth. When I create road paths, I will typically make them red and 5.0 in width so they show up easier.
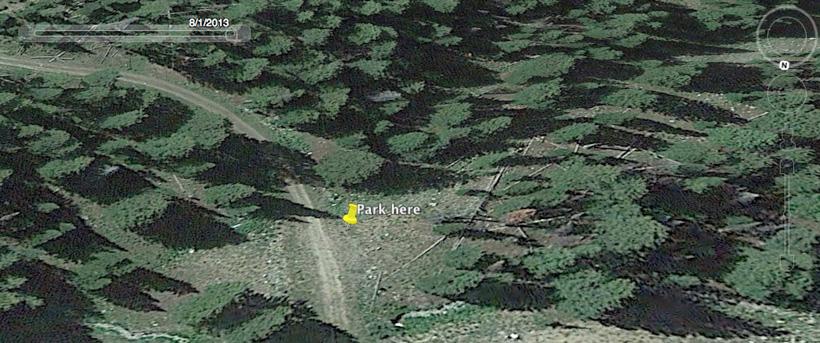
The next part is very important. I like to mark all of the important trail locations on the hike in. This can be accomplished two ways. One way is to just mark waypoints along the way to your camp location. Similar to the vehicle waypoint section, I will mark any junctions in the trail and will basically use the waypoints as breadcrumbs to follow. The second way is using a path function. The path function is really great for creating something to follow on your GPS. This is highly beneficial if there are no trails to follow or if you want to navigate a section of timber, cliffs or avalanche chutes.
Additionally when I am marking waypoints I will mark open sections in timber that might be easier to walk through. I’d much rather walk in small grass than battle through a mile section of willows.
This is where the fun starts!
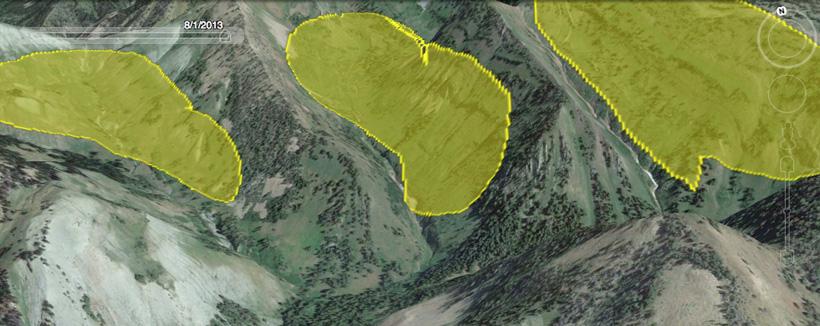
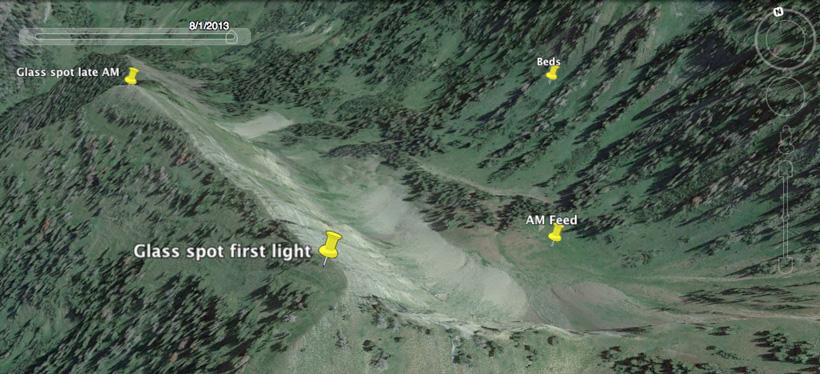
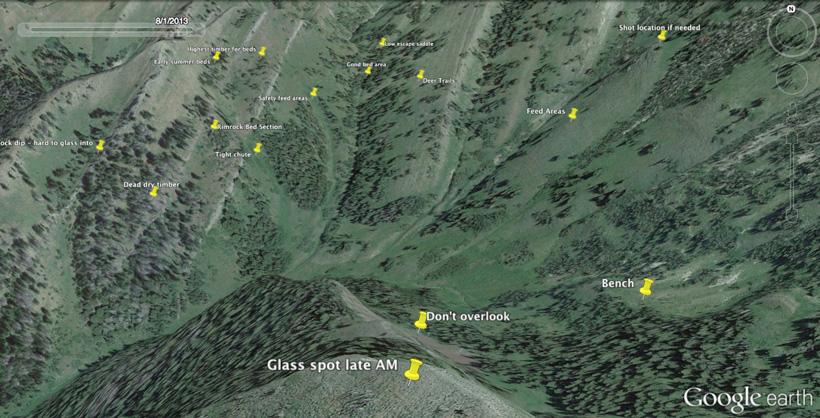
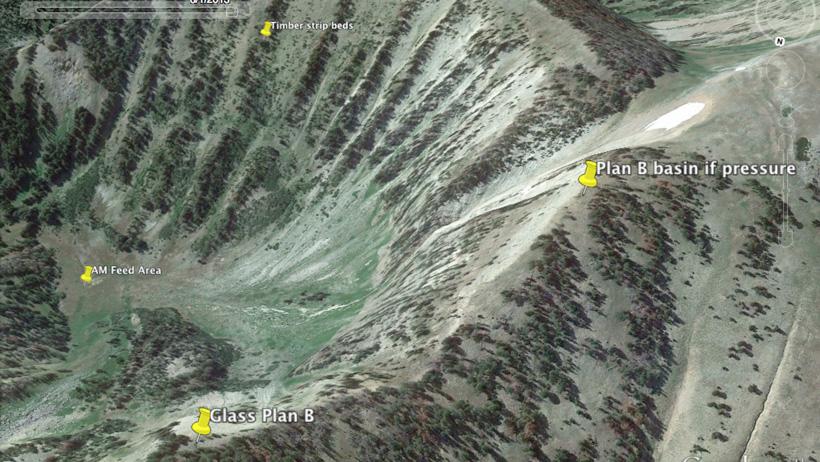
When it comes to marking hunting spots, I will literally mark everything of importance. This could be saddles, glassing spots, potential bedding and feeding areas, etc. I like to pay extra attention to glassing spots. There is nothing worse than showing up in a hunting area and not knowing where the best glassing spots are or worse yet, wasting time hiking to a spot that offered no glassing due to tree obstruction.
When saving hunting information I will mark early morning glassing spots (determined by sun direction, not blowing deer out of an entire basin, etc.), midday glassing spots and evening glassing spots. I tent to work over basins from multiple angle whenever possible. This helps me pick apart the terrain and located bedded bucks.
After I mark spots that I can potentially glass from, I will then start marking spots that I think might hold deer. I will mark possible bedding areas, feed areas, escape routes and even spots I could take a shot from using a rifle. This is the section of my research that I get very detailed on. I want to mark every feature I think will benefit me in the field. This way I am not surprised by anything. Note: if you zoom in far enough, you can sometimes even find deer, elk or sheep trails leading to and from bed or feed areas.
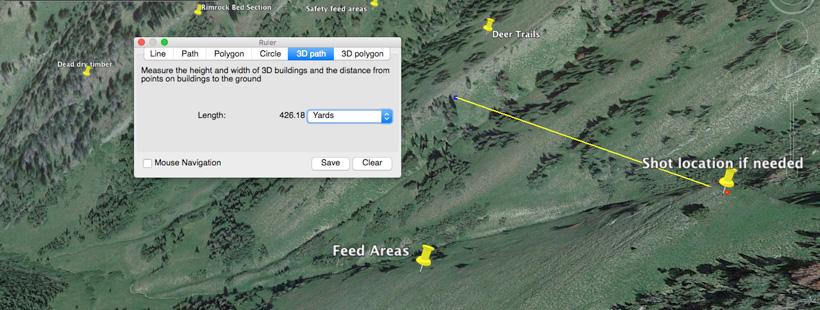
It is impossible to predict where you might take a shot from at a deer, but judging terrain and distance quickly in the field can be tough. What I mean by this is there are certain situations when you will ask yourself, “Will I be close enough for a shot on that knob?”. Doing some quick plotting of points and measuring the distance on Google Earth, it provides data to help you get a feel for how big the basin is. I use the "3D path" function for this since it measures the distance in a straight line in the air instead of following the ground. Then once you arrive in your hunting spot, you can reference those spots you marked to understand what the distance looks like in the real world.
While on the subject of measuring distance, this function can also help out a bowhunter by measuring the distance of cliff ledges to see if you could get shots off. Yes deer might not be there when you're actually hunting, but I find this an important way to judge terrain. Note: I also place notes in the comment section of certain Google Earth waypoints (that info is then transferred to my GPS).
Learning how to locate the best deer habitat and the best habitat for old mature bucks in an art. I really enjoy marking potential areas on Google Earth and then cross referencing that information once I am in the field hunting. This will help me to become better at reading maps and figuring out what terrain features could hold bigger bucks. When looking at my hunting area on Google Earth, I always try to envision how an animal would move through the mountains throughout the day.
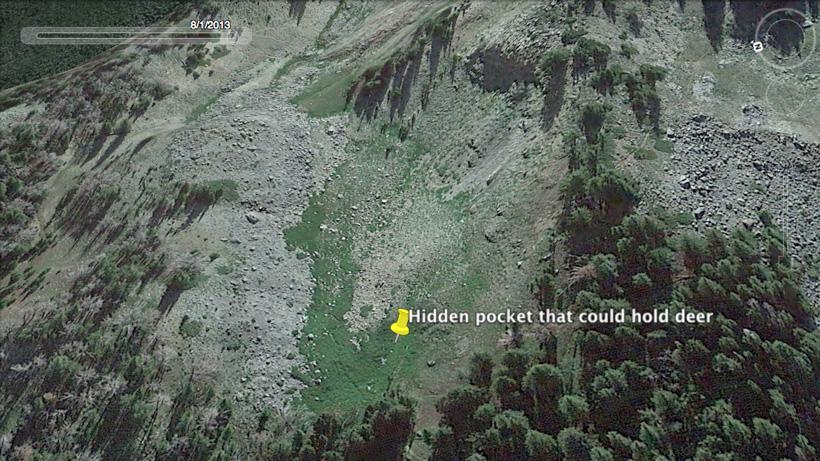
As much as we hate to admit it, no matter how far we get from the truck, there always seems to be other hunters. Since you can't have two hunters tagging out on the same buck, you might need to have a few backup plans. I will do the same thing I do on my main hunting location for my backup spots. Keep in mind that with increased hunting pressure, you need to think less like every other deer hunter and start to think what would you do if you were that deer. It's time to throw the normal spots out of the window and look for hidden pockets the still provide a buck with feed, cover and escape routes. These pockets will be places that many hunters will overlook or not be motivated to hike to. Having backup locations already marked on a GPS and scouted from your computer, you will be so far ahead of the game.
I will locate at least five extra basins to hunt as my backup spots. It is also important to locate hidden pockets where bucks might go when pressure hits. Bucks will not leave the country when pressured, they will just use the terrain differently. It is this reason that I glass from multiple spots during the day hoping to pick up a buck that might have changed his pattern.
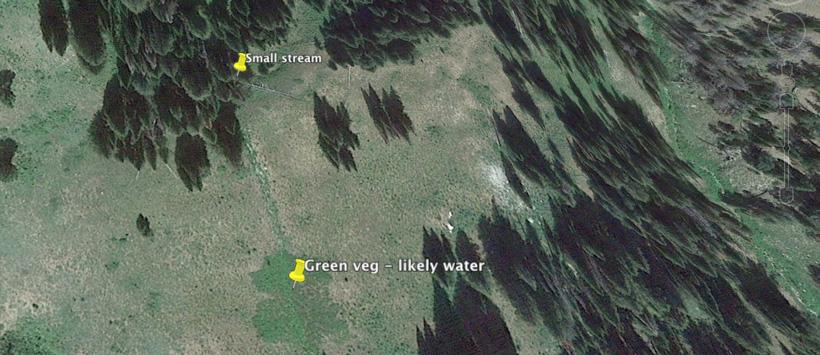
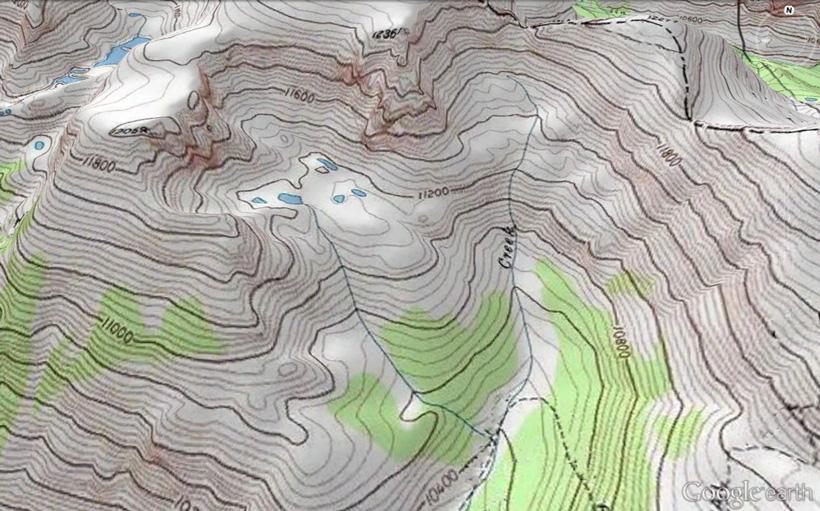
While marking up my hunting area, I will also go through and mark all the potential water. This is where I feel like I really excel in my scouting. I hear all the time that certain high country spots are without water, but I know there are hidden springs located in all of the mountains, they just take either boots on the ground experience to know where they are or a you’ll need a little knowledge in reading maps to find them. That is where the topographical layers and hydrology data layers are very valuable.
The image above is very typical of some backcountry areas. The small stream is coming out of the mountain from a seep above the trees. I marked it because it may or may not have water. The green section marked below is a great indicator that the location will have water at some point in the year. But with water, the only way to know for sure is to check it out in person. That is why I try to find multiple water locations incase some are dried up.
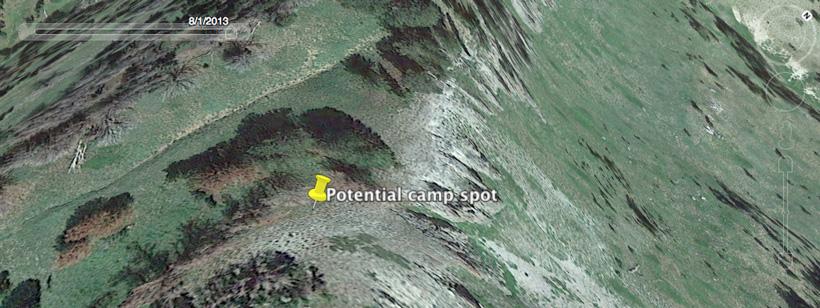
Another huge part of this Google Earth scouting is marking potential camp locations. There is nothing more frustrating than hunting a mountain spot for the first time and not knowing where the best places to pitch a tent are. Obviously things slightly change from looking at a Google Earth image, to actually walking around… but you can mark several potential camp areas ahead of time. I like to mark a location for my initial camp, plus I will mark potential camp spots for my Plan B and Plan C basins.
When looking for a camp spot, I typically like to find some sort of flat section that is close to cover so I don’t get destroyed by winds. I used to camp right on the top of peaks, but after a bunch of close calls with lightning storms, I now try to find small benches just off of the peaks. I will always pick a camp spot that will not affect the bucks I intend to hunt. So my minimalist camp will be on the backside of a ridge. Ideally I want a camp spot that is close to water. So I would really pick apart my map and Google Earth layers to try and find a hidden spring if I am in a low water area.
Once I’ve compiled all the information that I think I need from Google Earth, it’s time to transfer that information over to my GPS. The easiest way to do that is to save the folder that you are using as .KML file.
The next step is to grab your GPS, plug in a micro-USB cable, and open up Garmin Basecamp. Once the program is opened and has recognized the device, open Basecamp and import the file. You will need to select File > Import > ”File Name” to import all of the Google Earth files into Basecamp.
The waypoints will now be visible on the Basecamp map and are ready for transfer to the GPS. To do this, simply click on the "Device Transfer" button in the upper left hand corner. Be sure that waypoints, routes, and tracks are checked and double check that your GPS model name is visible in the drop down menu. After everything is set simply click “Send.” I like to turn on my GPS and double check that everything imported correctly.
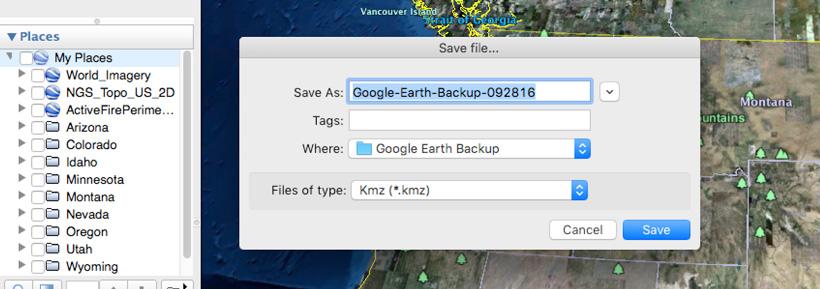
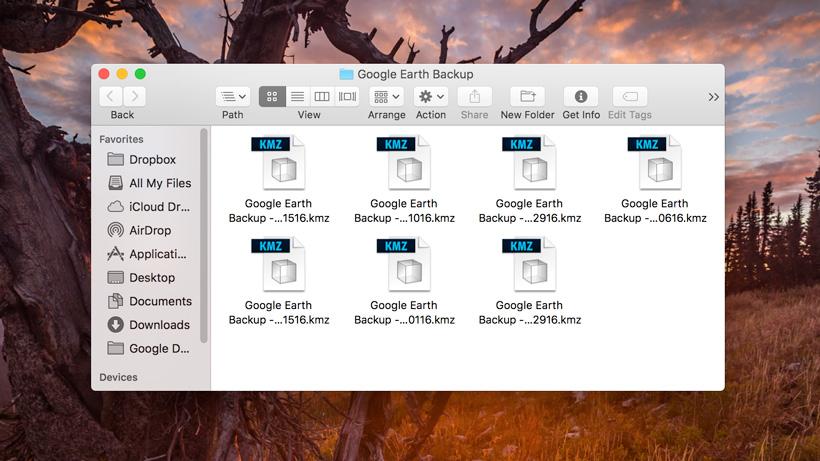
I can’t say this part enough. Backup your hunting research files! Nothing is worse than losing hours and hours of research on Google Earth. Be sure to create backup copies of your data regularly. To export a backup copy of your Google Earth files, right click on your “My Places” folder after each session and then click “Save Place As”.
I like to make regular backups to my Google Earth files. I will store at least five recent versions of my work in a folder on my computer. I will also back that folder up on a cloud type storage system and I will have it backed up on an external hard drive. When saving my file I typically like to date the file so I know which is the most current version.
There are so many great Google Earth layers available for free.
Topographical maps
Download the layers here: ArcGISOnline Topo Maps - USA_Topo_MapsArcGISOnline Topo Maps - NGS_Topo_US_2D
Aerial imagery
Download the layers here: ArcGISOnline - World_Imagery (sometimes these images are better than the standard GE images)
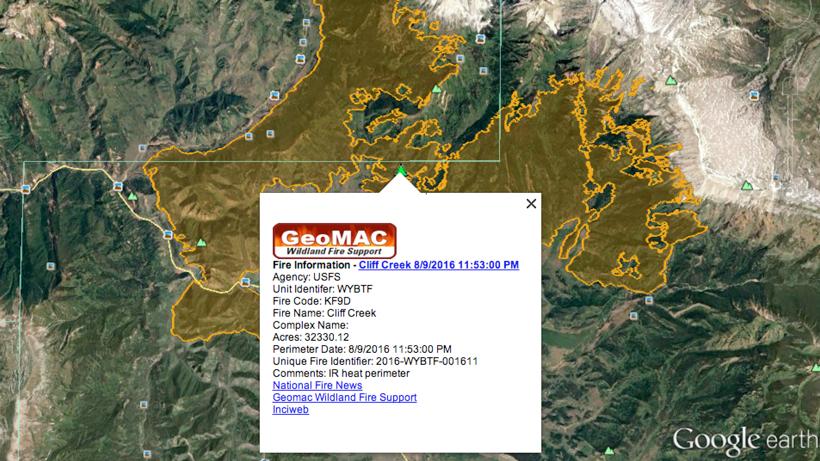
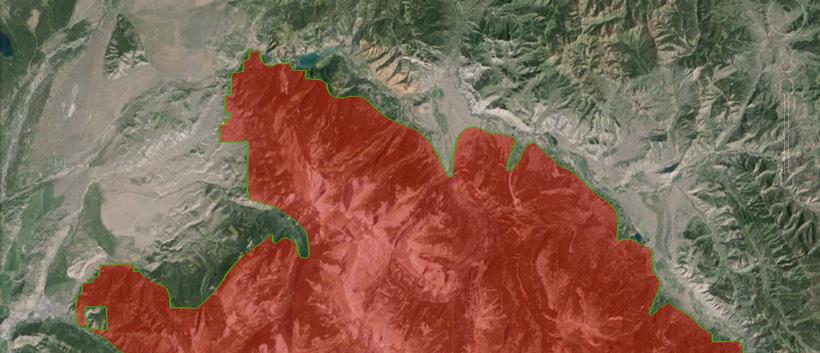
Fire layers
Wilderness layers
Each year I learn more and more about animals through the many hours I spend on Google Earth. Not only that, but each year I find new tricks on Google Earth that greatly help with my scouting and hunt research. It is a true statement that the amount of hunt planning you can do with Google Earth is endless. Hopefully with this system you can be that much further ahead of the game when you step foot in the field for the first time in a new hunting area. Please let me know if you have any questions in the comments below. Best of luck the rest of the season!