


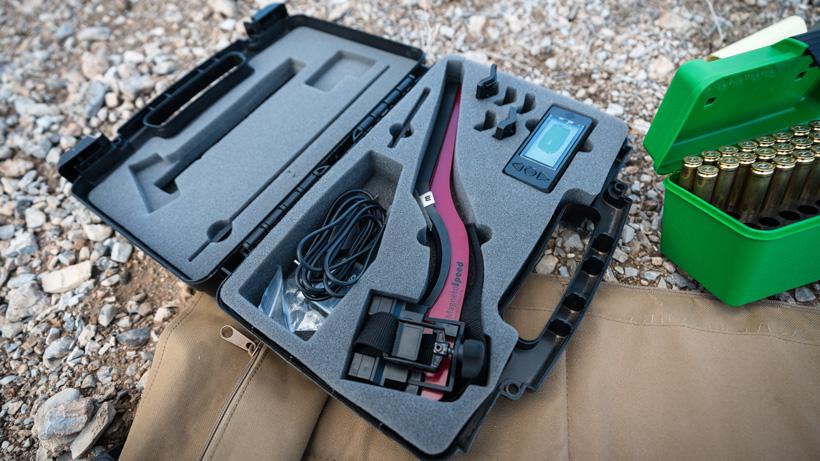
A MagnetoSpeed packs up very small. This case is roughly the size of a laptop and about 3 inches thick. Great for stowing in your truck when traveling on out of state to validate and you don't need an extra tripod to hold the device next to the barrel.
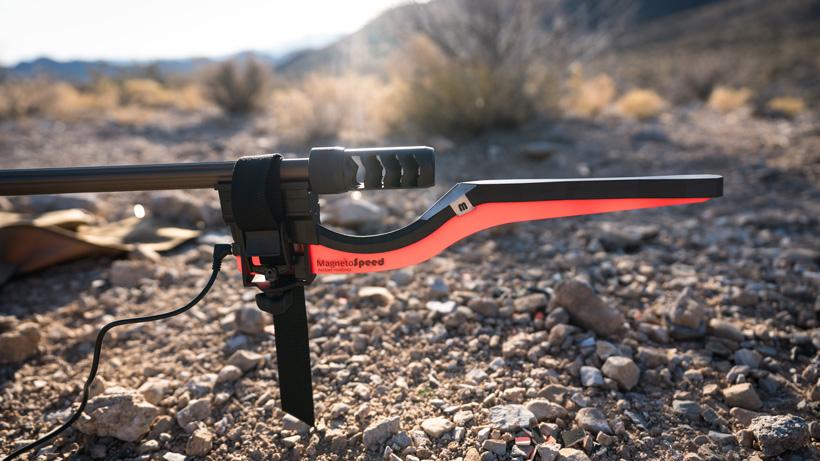
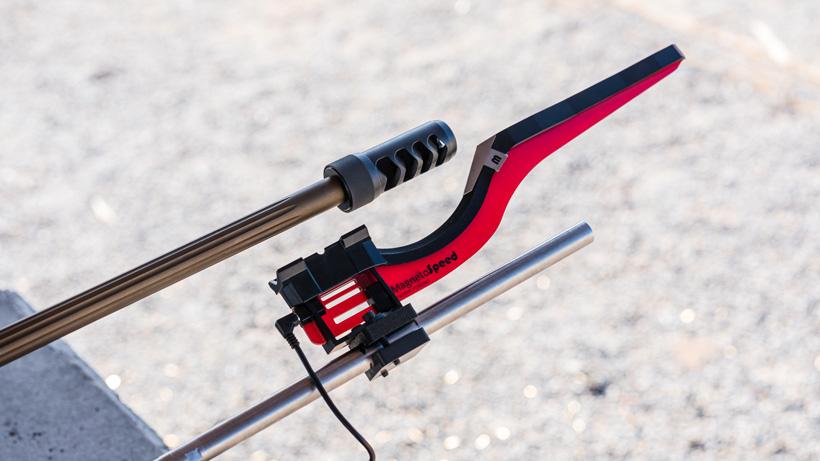
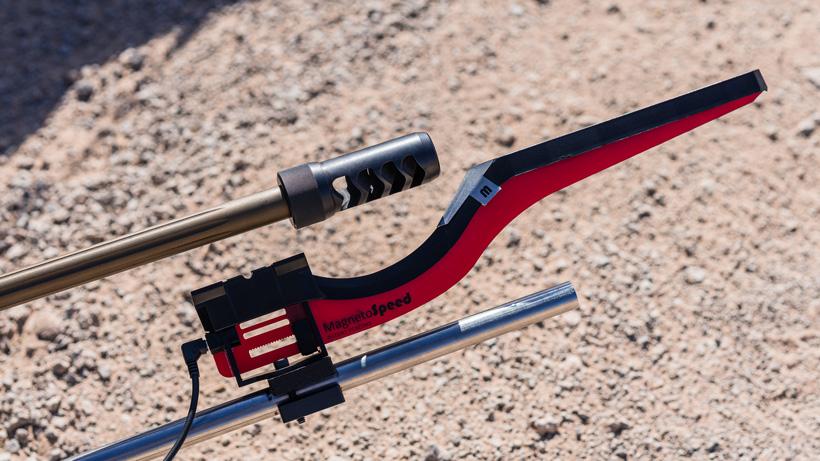
MagnetoSpeed V3 chronograph mounted on the rifle barrel.

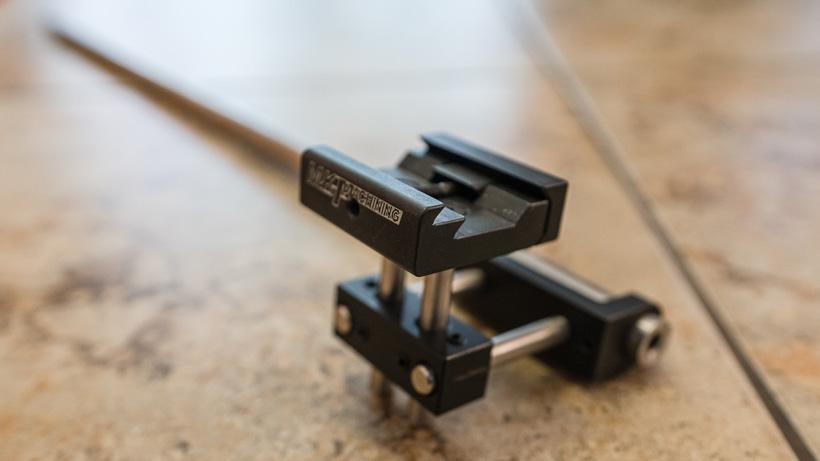
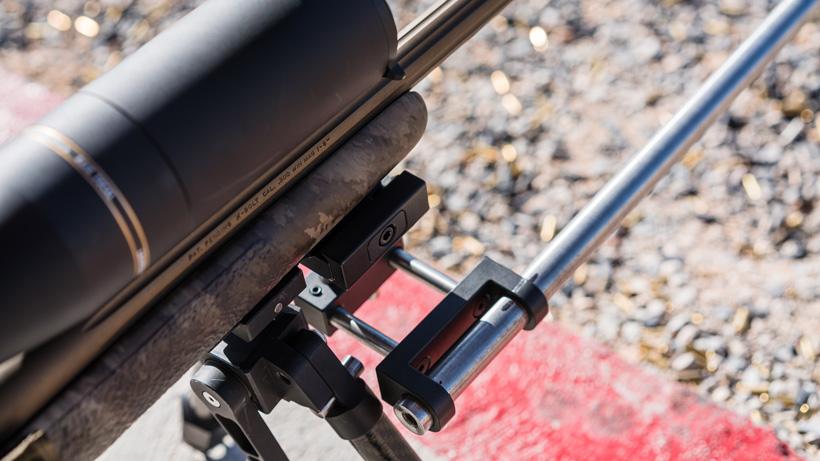
Showing the Sharpie marks to represent where to set up the mount and rod each time for my 300 Win Mag.
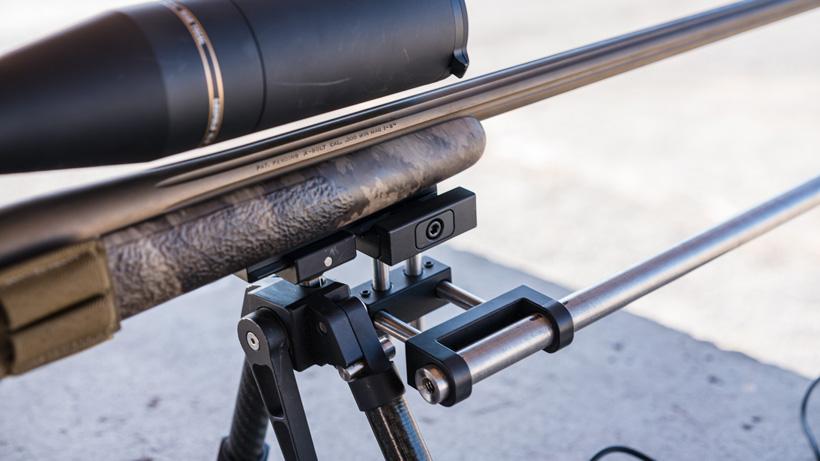
Showing left/right and up/down adjustments.

For almost a year I’ve owned a MagnetoSpeed V3 Ballistic Chronograph. This little tool is a huge upgrade over my old ProChrono Digital chronograph. And it wasn’t a hasty purchase. I spent a lot of time researching what chronograph to upgrade to in order to work up better loads for my 300 Win Mag.
All of the research I did keep pointing me to MagnetoSpeed and Labradar. While both are at the top of their class, I ended up with a MagnetoSpeed after reading about some inconsistencies in the Labradar (like anything, some people love them and have no issues; other people are the opposite).
A MagnetoSpeed packs up very small. This case is roughly the size of a laptop and about 3 inches thick. Great for stowing in your truck when traveling on out of state to validate and you don't need an extra tripod to hold the device next to the barrel.
Another big item for me was how impractical the Labradar seemed to be to take on hunts (specifically traveling and keeping a chronograph in my truck) and the difficulty in setting it up in a mountain situation when I want to validate my rifle quickly in uneven terrain.
MagnetoSpeed V3 chronograph mounted on the rifle barrel.
The MagnetoSpeed chronograph design is so simple! Just attach the bayonet sensor to your barrel using the correct number of spacers, run the cord from the sensor to the reader and you’re good to go. Sidenote: Attaching the MagnetoSpeed to your barrel can create a slight point of impact shift. On some thicker barrels, this isn’t an issue, but it is something worth mentioning. To me, that wasn’t an issue at all at first since I had plenty of time devoted on the weekends for testing my load recipes. So, all in all, this setup is perfect for testing load data, but there will be a time when you might want more.
Regardless, I loved using the MagnetoSpeed V3 for initial load testing. During the initial stages, all I cared about was finding the perfect load and the MagnetoSpeed made that quick and easy. However, after collecting all of that initial data, I wanted to continue to collect data in my long-range practice sessions to make sure my loads were still performing.
I can’t remember how I came across this new device, but, one night, while scrolling through Instagram, I saw this product on my Discovery feed that looked like an add-on piece for a MagnetoSpeed chronograph that could remove that point of impact shift. That product was made by MK Machining and is their Gen III MagnetoSpeed Mount. I clicked around and tried to find out as much information as I could.
It didn’t take me long to know this was the ticket!
What makes this product so nice is it’s able to mount to a picatinny rail or an Arca Swiss mounting system. I already run a 4” picatinny rail on my rifle, so I’m able to mount both my Rugged Ridge Bipod and the Gen III mount at the same time.
From there, you have a two-way adjustment of the mount with some rods and set screws. The mount then utilizes a 5/8” rod that you can get in 12” sections (I purchased three 12” sections, but, for my 26” barrel, 24” is perfect with room to spare).
Be aware of this discrepancy directly from MK Machining: “There is NO CANT adjustment of the bayonet, meaning if you have an angled forend or a rail that is not parallel with your barrel, this mount will not work for your rifle.”
I was a little concerned with this at first, but this system does work perfectly with my McMillan Game Scout stock. Note: I did bed the picatinny rail to my rifle with extra epoxy, so that could be why it works better than I expected because my picatinny rail is close to parallel with my barrel.
The MagnetoSpeed bayonet then attaches to the 5/8” rod after you remove the strap and use the bracket that came with the Gen III mount.
It definitely takes a bit of time to get everything set up correctly (I was concerned about getting it right so I didn’t blow up my MagnetoSpeed). What I did was take a rifle cleaning rod and place it down my barrel to ensure I would have enough space to clear the MagnetoSpeed when a bullet runs down the barrel.
Showing the Sharpie marks to represent where to set up the mount and rod each time for my 300 Win Mag.
Then, I took a Sharpie marker and highlighted areas on the rod where the bracket goes and the location of the bayonet. This ensures that when I take the device apart, I can put everything back together in the correct place.
Showing left/right and up/down adjustments.
Since the MK Machining Gen III device runs in a straight line and only has adjustments for up/down and left/right, it really only works for rifle stocks that are straight or have some attachment capabilities that some of the competition rifle chassis have.
I feel this device needs another axis adjustment to account for hunting rifle stocks that might angle slightly. Another axis adjustment would make this better and possibly expand their reach further into the hunting market. Maybe something is already in the works for the barrel side allowing the Magnetospeed bayonet to tilt to accommodate other rifle stock designs.
Keep in mind that I went out and paid full price for this device and I wanted to write about this product because I feel so strongly about it. I’ve been using the Gen III mount for a month now and each time I post photos of it on Instagram I get a ton of questions. I thought I’d make things easier and write about it. Now I’m able to collect longer strings of data while target practicing. And, in my head, more quality data is always better. Rifle seasons are approaching fast in the West. Best of luck this season!