


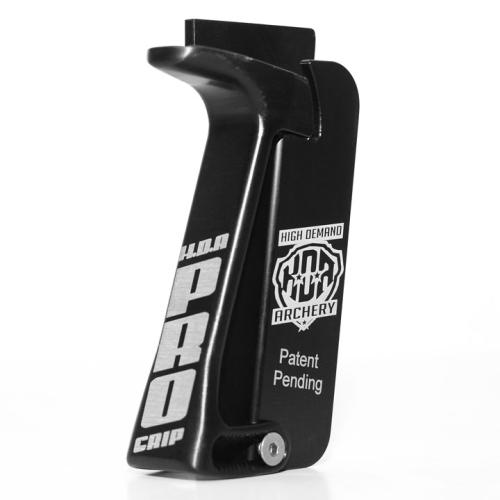
Photo credit: High Demand Archery
Hunters always put a lot of time and consideration into what bow they will be shooting and what rest and sight accessories they will need for the following bowhunting season. Time is spent researching their sight, rest and arrows, yet little thought is given to ways they can improve their shooting with little or no added cost.
Bow grips are the perfect way to promote proper shooting form and increase accuracy due to reduced torque (squeezing or the death grip). Increased torque can be caused by “gripping” your bow and incorrect hand placement is one of the leading causes behind slightly missing your intended point of impact. For more information on how to hold a bow, check out this past article.
Back in the day, archers were taught to use a high or medium wrist grip when holding the bow because it resulted in less hand contact with the idea being that it equaled less torque. While some of that logic may be true, it is better to have a grip that you can rest the palm of your hand on and repeat the same position shot after shot.
Before I explain various types of grips for bowhunters, I want to touch on the possible wrist positions.
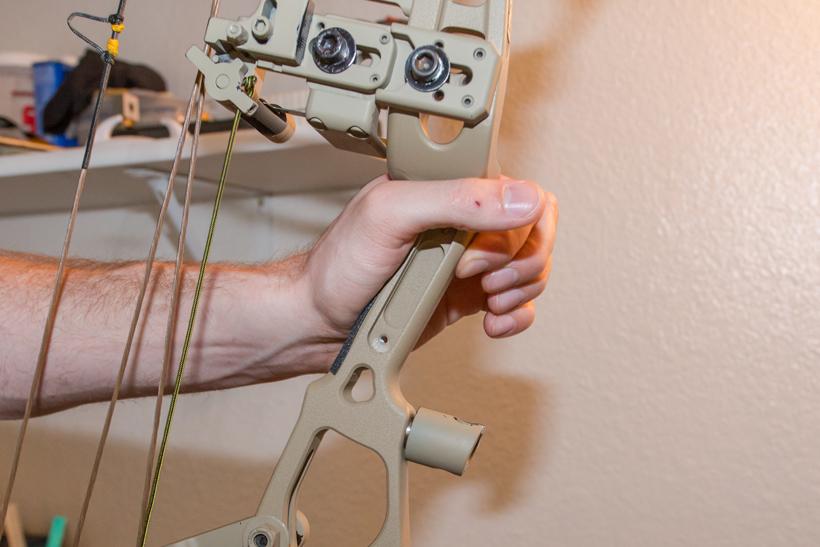
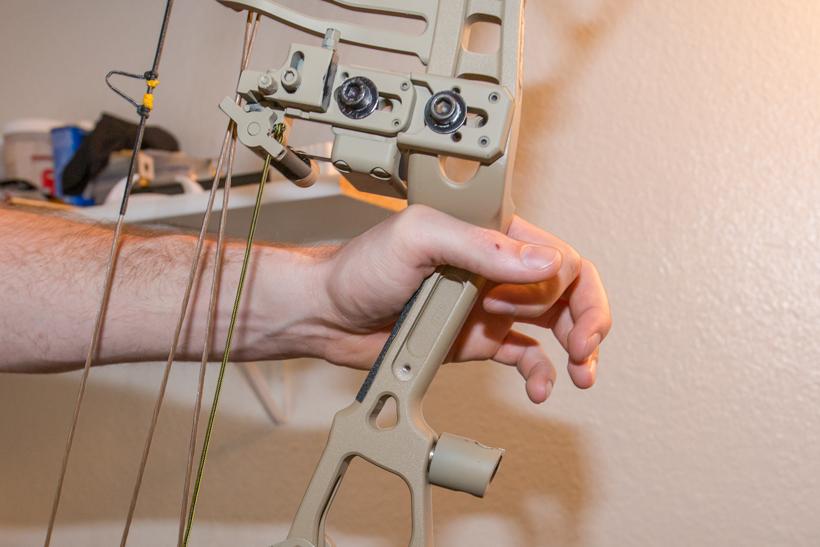
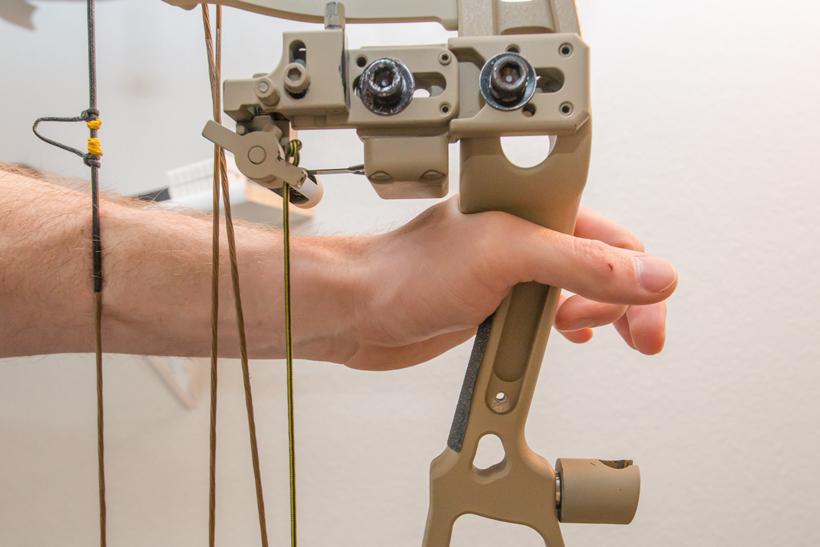
A low wrist is much more repeatable than a high or medium wrist. It is much easier to feel that you have your hand placed on the bow the same way every time with this wrist position. The low wrist grip helps to align the grip in the proper area of your palm.
As its name implies, this is the middle ground and is a combination of a low wrist and a high wrist. Most of the palm of your hand rests on the bow grip. This is a hard grip to repeat due to inconsistencies in the angle of your hand.
A high wrist position places a very small portion of your wrist on the bow. For the most part, no part of the palm is touching the grip. This method requires you to place your hand at a specific angle on the grip every single time. Repeating this angle is difficult shot after shot and the more you are fatigued, the less repeatable this will be (think running up a mountain after a bugling bull elk and trying to repeat this position). If you do not repeat it, you will have arrows hitting in different spots due to the change in vertical pressure.
Overall, bow grips need to be torque free. Keep in mind that your style of grip choice will change the point of impact of your arrow if you are to make a drastic grip change. Choose one and then sight your bow in for that particular grip. Changing your bow grip is relatively cheap and can be done for less than $10. Experiment with various grip styles to see what works best for you.
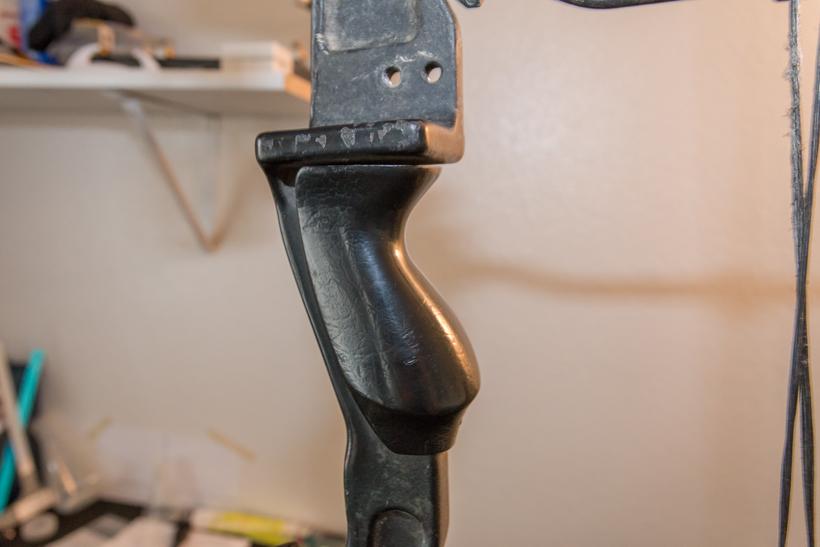
Most stock bow grips are either too wide or fat in the hand and are curved, which makes it difficult to repeat the same hand position. You want positive pressure focused on the narrow part of your bow hand to let you know you have your hand placed in the proper position. The flat surface of the riser keeps a solid position in the palm of your hand without teetering back and forth.
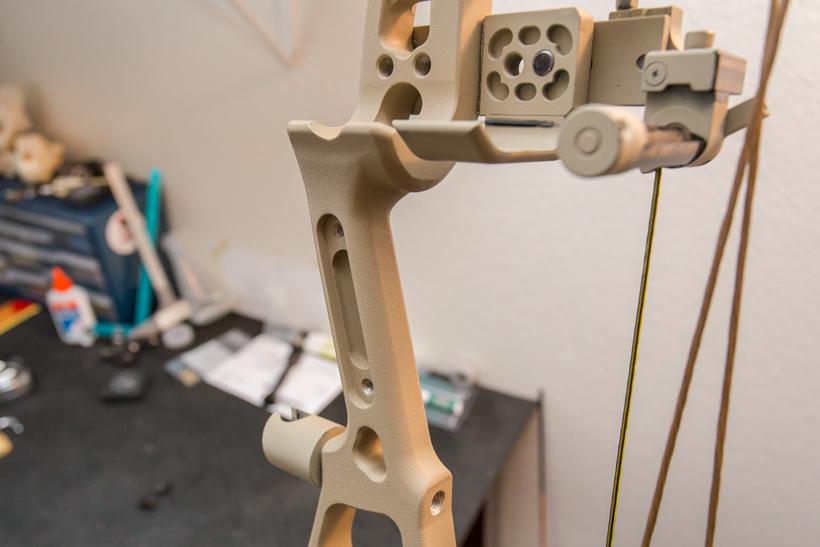
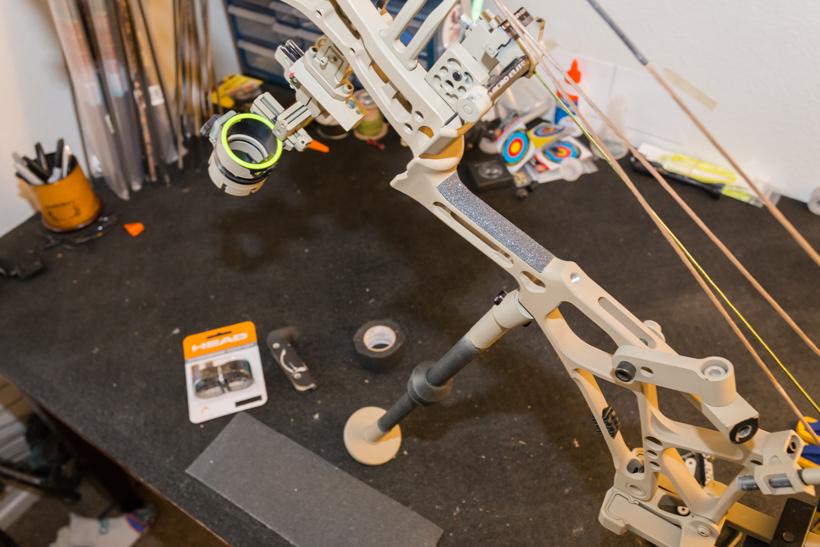
This is one of the easiest ways to change the feel of your bow grip. Simply remove the stock grip or side plates and experiment with how this feels and shoots. Shooting off the riser creates a thin grip that is perfect for removing torque. By removing your grip and shooting off the riser, you may see an increase in how tight your groups are in a very short amount of time.
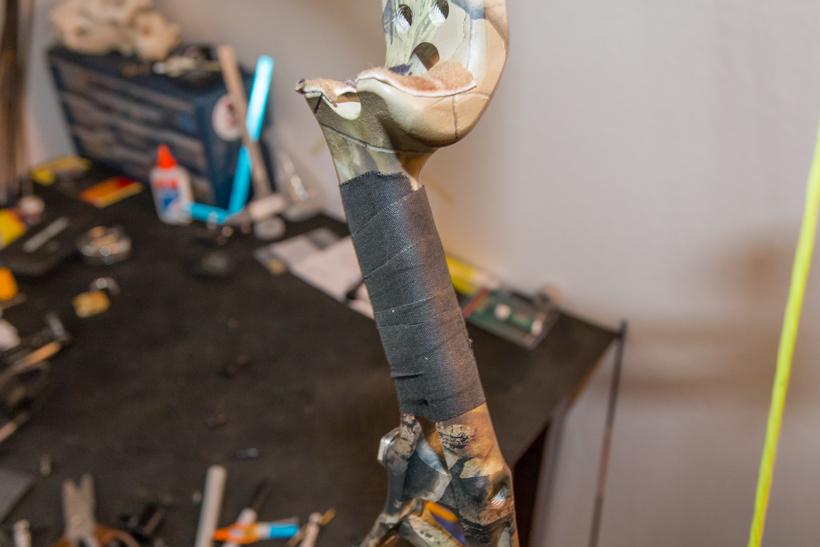
If you enjoy the feel of a narrow grip, yet want a little more “grip” on your bow hand, then athletic tape is the perfect solution. Athletic tape will create a solid place for your hand on each shot and will help prevent your hand from slipping due to sweat while hiking up a mountain or belly crawling in the heat. This tape will also have a tacky feel to the touch over time, which some bowhunters love. Athletic tape can also be customized to create a medium or high wrist grip by adding tape to certain areas of the grip.
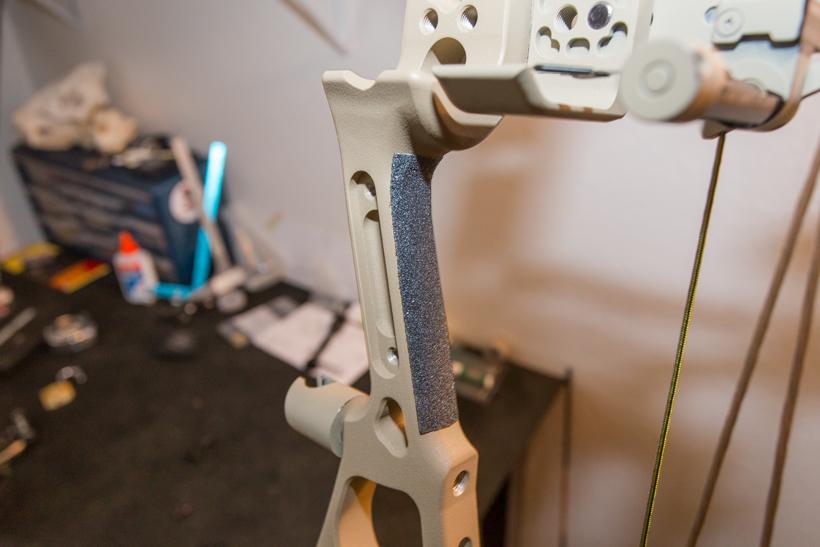
Tape like the kind made for concrete porch steps and skateboards is another great way to ensure proper hand placement on your bow. Simply remove your stock grip and cut out a small strip of grip tape for the back of the riser. Attach the tape and you now have a very rough surface that will ensure proper hand placement each time.
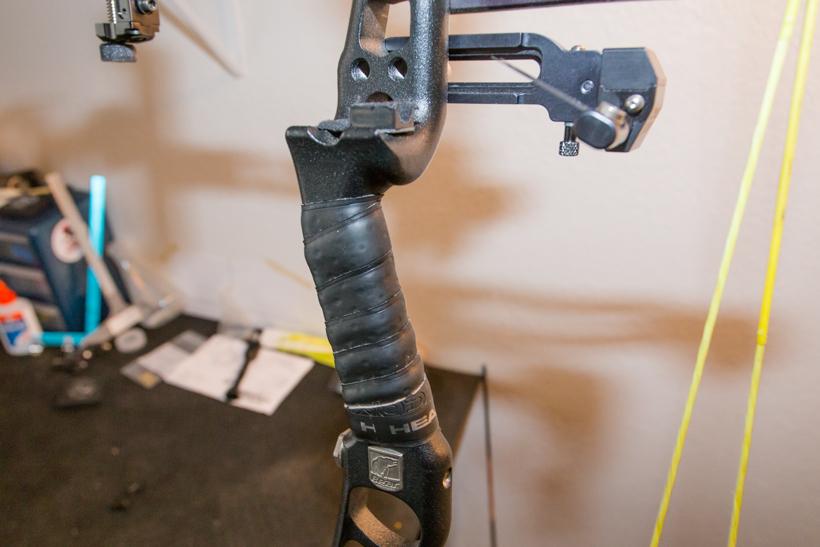
Using tennis racket wrap is a great option and is similar to using athletic tape. Tennis wraps come in many different thicknesses and tackiness. Note: if you have too much padding in the tennis wrap it has the potential to increase torque due to the thickness of the grip which will increase the your tendency to grip the bow.
Some people say that grip tape or tennis wrap equals friction and friction equals torque, but this “grip” promotes getting the hand correctly set every time. You do not want your grip riding up the handle due to sweat.
Photo credit: High Demand Archery
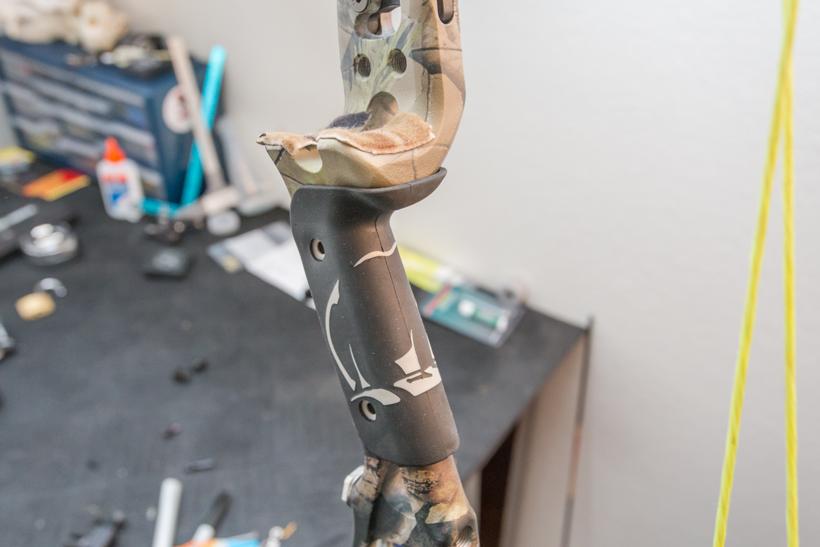
A lot of people like the feel of custom bow grips that are built specifically for your bow. Custom grips can give you a better feel as to how you have the bow sitting in your hand. These are made out of a number of materials such as: rubber, aluminum, plastic and wood. The majority of these custom designs are to promote proper hand placement for repeatability. Some of them even have adjustments that can be made to modify the degrees of angle for a truly custom fit to your shooting style.
Thought processes and techniques have changed a lot over the years. Bows used to come standard with grips that were wide, highly curved and severe medium to high wrist in design. These rounded and high wrist grips may work still work for some people. Bowhunters have a lot better options nowadays and should find the grip that works best for them.
I often hear about people using rubber grips to increase warmth on their bow, yet I still do not understand why you would use a grip specifically for warmth. If you are hunting from a stand you can use a glove, hand mitt, or hand warmers and take them off before you place your hand on the bow.
If you are dead set on shooting a rubber grip or shooting with a thick glove on your bow hand, please practice with that glove before you head into the field.
Adding or removing a grip does not change the physical brace height of your bow.
Experiment with an assortment of grip styles before your next hunting season to improve the accuracy of your shots. After you figure out the grip style you enjoy, remember to completely relax your bow hand when you put it on the bow and leave it completely relaxed throughout the entire shot. Have fun, shoot straight and repeat.