



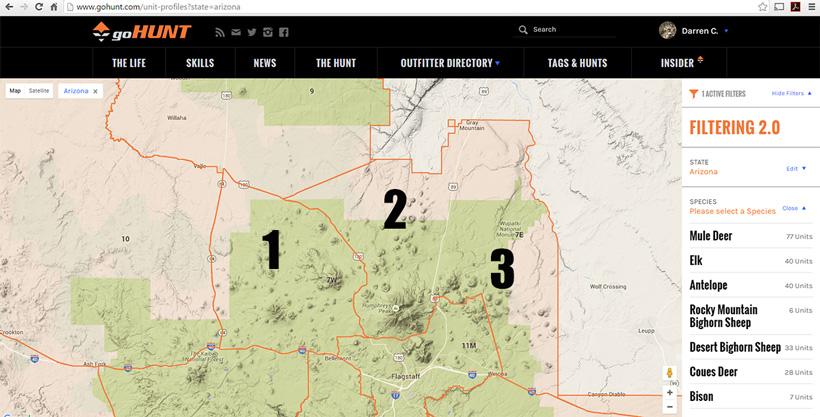
Dividing a hunting unit into separate parts for scouting.
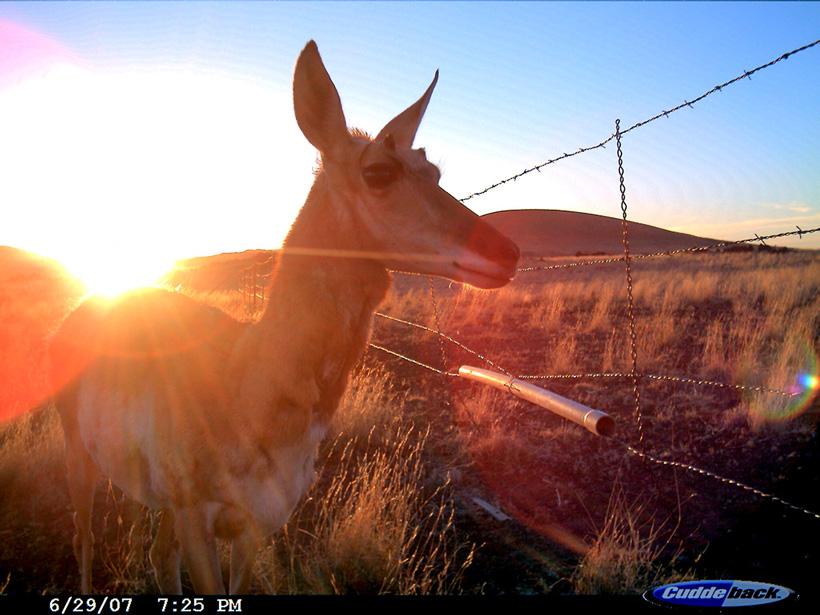
Antelope fence crossing area. Photo credit: Babbitt Ranches
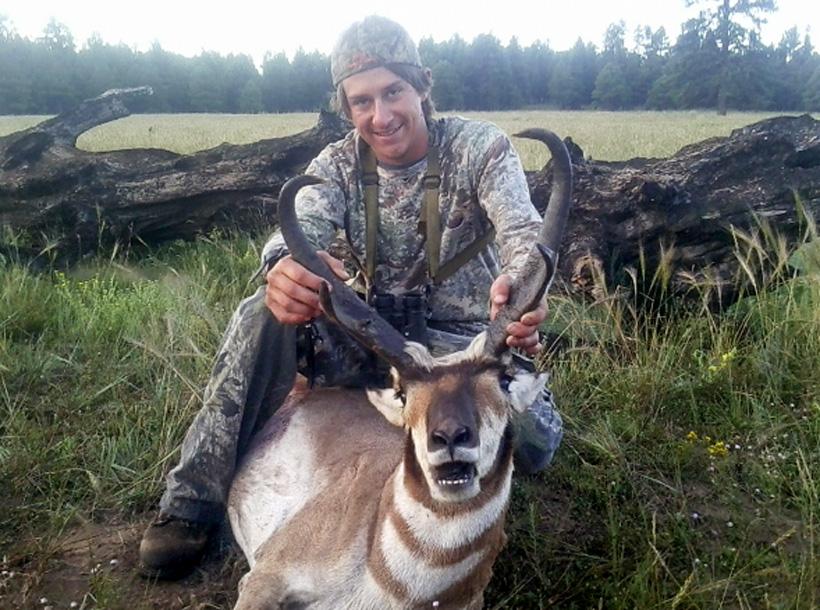
Antelope hunting success. Photo credit: Jesse Parker
Drawing an antelope tag for a trophy unit in many of the Western states is difficult at best. This year, I put my 16 bonus points — 14 from unsuccessful past draws and two extras from hunter education and hunter loyalty — to work for me. As it turned out, I had luck on my side and I drew an archery antelope tag in northern Arizona’s Unit 7. In Arizona, archery tags are tough to get, but it can take 20 years or more to draw the more coveted rifle tag. My point: although it’s not a once-in-a-lifetime tag, when the opportunity presents itself, you better take advantage of any antelope tag you draw in the West.
As hardcore hunters we know that scouting leads to success, but sometimes we are guilty of internalizing the scouting process. In other words, we fail to actually follow a process other than just “scouting.” Don’t beat yourself up — this is true of many of our daily activities, too. However, the most successful individuals often follow a process or set of habits that they have either created on their own or have adopted from another. You’ve probably seen a headline like “5 Daily Habits of Highly Successful People.” That is what I am referring to. For hunters, it becomes a certain number of dedicated habits while scouting to become a more successful hunter. Believe me, there is not a one-size-fits-all plan and you probably already have a routine in the back of your head that you’ve been using.
To scout more efficiently, lay out a plan to prepare for your upcoming antelope hunt. This will allow you to externalize a process; call it what you want, I call it a game plan. To do that, here are a few thoughts to make the most of your scouting this summer and fall.
First, get a realistic perspective of the unit you will be hunting and the quality of bucks that reside there. Knowing what to expect of the unit(s) you will be hunting will pay dividends while scouting and during the actual hunt. There is no reason to hold out for a 90” antelope if there aren’t any to hold out for. Once you have realistic expectations, you can set your harvest goal(s). There are several tools at your disposal to get a better handle of the trophy-caliber of bucks in your hunt area.
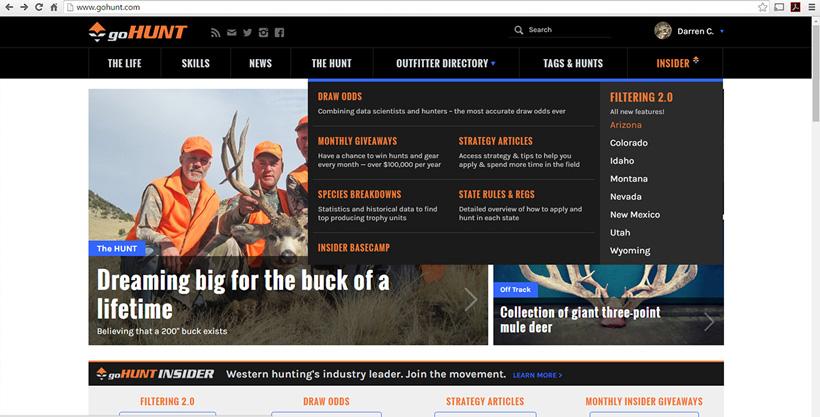
There is NO better place to start the scouting process than right here on GOHUNT, utilizing the Filtering 2.0 tools that are found on Insider. On the GOHUNT website under the INSIDER navigation section, simply click on the state that you are preparing to hunt. From there, you can select the unit(s) you have a tag for to begin your research. As you likely already know, you can gain a quick perspective of the unit’s features including terrain, vegetation and access as well as historical weather data and patterns. Here, you will also see a general size or score of bucks found in the unit, and, more importantly, what the trophy potential is in the unit.
In my case, I have to look at both Arizona's Unit 7E and Unit 7W, since my tag is good in both subunits. A quick look reveals that the trophy potential is the same in both units, with bucks taken over 75”; however, after a more careful look, the general size of bucks is slightly larger in Unit 7E. If nothing else, it’s food for thought right now. In my case, I also have to realize that the largest bucks were most likely taken with a rifle and I have an archery tag. When comparing two units, you can also look at this INSIDER article on how to narrow down a unit to hunt once you have drawn a tag.
To expand your research on trophy potential, collect information regarding past hunts by “shopping” local. On a scouting trip, make it a point to stop in at a local sporting goods, archery shop or gun store. Most stores have a “bragging board,” with successful harvest photos. Strike up a conversation with one of the store’s employees to find out about trophy bucks taken over the last few years in the unit you will be hunting. Additionally, these people may know about others’ unsuccessful hunts. Find out all that you can regarding these hunts, too. On top of it all, they may know about a buck or two that made it through the past year’s hunts, which is nice to know.
Note: Don’t expect to gain anyone’s secret spots. Be mindful that these people live and hunt here too and are unlikely to give away many details.
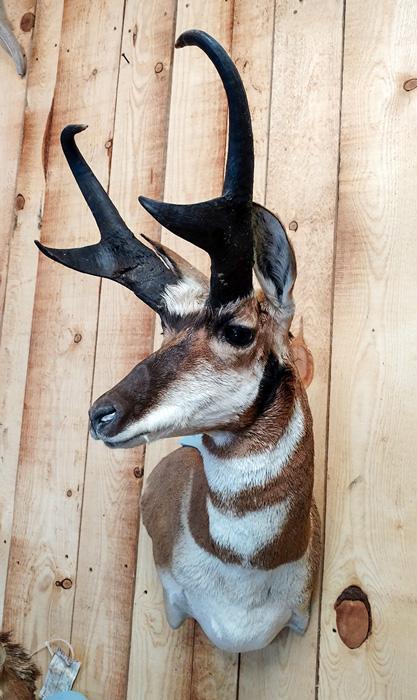
Another stop you should consider is to a local taxidermy shop (or two). These professionals don’t just hear the stories; they may have the actual trophies in their possession. Again, stop by and ask a few questions. With a little luck, you may get to put your hands on a trophy buck taken in the past year or two. If a taxidermist knows the exact location of an individual’s harvest, they are still unlikely to part with that information, especially to an outsider. Again, don’t expect to acquire this info.
Last, and certainly not least, plan to contact a game biologist that works in the region that you will be hunting. In addition to some of the same information you’ve already collected, they are likely to have specific data related to herd conditions and population numbers. Additionally, in most cases in the West, these professionals are employed by public agencies, and, therefore, should be able to be a little more open with the information that they can provide. Keep in contact with these biologists leading up to the hunt so you stay current on any last minute information that might be crucial to the scouting process and/or hunt. You can check out more information on talking to a game biologist here.
After performing a little online research of your own and having talked to several knowledgeable people, you should have an idea of the type of buck you can expect to have a crack at. Set your goal(s), and move to the next step in the process.
I find it helpful to put in some computer work prior to spending time in the field. To initiate that step, I prefer to sub-divide the unit(s) I will be hunting to make scouting more manageable. To do this, I take full advantage of GOHUNT’s Filtering tools and mapping features. For example, in my unit (Arizona’s Unit 7), using the provided map, there is the obvious division in the Unit 7E and Unit 7W boundaries. Zooming in a little closer, I can see there is also a well-defined division in the Unit 7E subunit formed by Highway 89N. With that in mind, I now have three easily discernible areas in which to scout. Later, I will rate each area based upon which one might allow for the highest success.
Using the INSIDER Google Maps imagery, you can also catalog points of interest like good glassing points, water sources, access roads, and many other resources. Once you have a few manageable hunt areas and some points of interest loading into your GPS, it’s time to put in some “boot time.”
This is the no-brainer step, but I’m sure you will have time constraints. It’s best to start now and make several trips to the unit you have a tag for with at least one trip to each of the subunits you created earlier, if possible. If you can’t spend several days in the field leading up to your hunt, try to take advantage of a couple options.
Plan a short vacation with your family. For example, Arizona’s Unit 7 is within an hour’s drive of Grand Canyon National Park. Plan some quality time with the family, but also plan time to get in the field at least a few times. Get up early, while everyone else is still sleeping in order to get a few hours of fieldwork in or instead of taking the paved road, take a “shortcut” through a county or forest road to your vacation destination. Stop a few times to check out the area; midday stops are ideal to check potential water sources for tracks and antelope sightings during the day are far more common than other big game species. Worst case, leave a day or two early for your hunt to scout or take enough time of for your hunt to “scout” the first couple of days during the hunt.
That said, scouting should be more than driving through your hunt area and/or checking for tracks. With the goal of finding a few trophy-caliber bucks to hunt, at a minimum, I suggest covering the following while in the field.
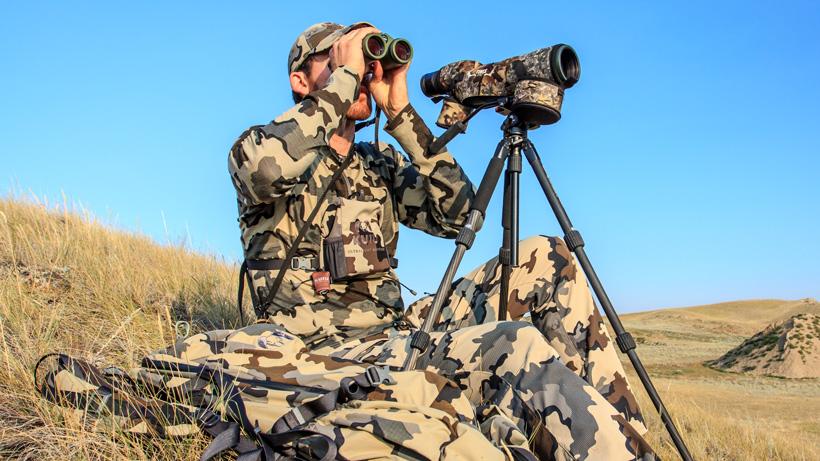
In this case, get in some “seat time.” There is nothing more valuable than sitting behind a quality pair of optics attached to a tripod overlooking antelope habitat. And, for antelope, you can do this almost any time of the day. Don’t just look for animals; hone in on their movements with the goal of discerning some pattern. Perhaps there’s a specific time and place they are moving to water, a particular location they cross a fence line, or a travel routine from one location to another. If trouble arises, it may provide a hint about the escape route used by a particular group of animals or within a particular terrain/topography, too.
Note: You can even spook animals to see where they go to escape danger, if it’s not too close to your hunt to have a negative impact. Keep a journal with notes about your observations so that it is easier to recall and utilize them later.
Sitting over water is a viable option for all big game species, but this is especially true for antelope hunting. Antelope may visit a water source any time during the day, and maybe even multiple times during a single day. When the hunt rolls around, sitting water will be an option for those that are patient enough to make it one. I am not suggesting that you sit for a day over water while scouting, but, rather, pay close attention to water sources while scouting. While glassing, pay attention to water sources in the area and try to pinpoint the water sources that antelope are using. Remember to note when they are using the water sources, too. If needed, move to a new vantage point to close the distance to get a better look at bucks using these heavily-used water sources. If you find a water that you plan to sit come season, make sure you find time to place your ground blind well before the season begins so that animals are used to it.
Most hunters associate trail cameras with whitetail deer hunting; however, trail cameras work well for all big game species, including antelope. Of course, there are a few differences in the wide open spaces where antelope are found. Fence lines are a great place to put a trail camera and, in many cases, may be the only solid option to mount for a camera. Fence lines are an effective means to find locations where antelope cross from one pasture to another.
Hint: If there is a man made crossing — PVC pipe on the bottom wire — start here. Water is also another spot to put a camera. Again, you may have to get creative to install a trail camera in the openness of antelope country. Try a nearby T-post on a fence or encase the camera in a pile of rocks. As always, place the camera facing north or south to limit the effect of the sun’s positioning for the most effective picture capture.
Now that you have a handle on what can be expected of the unit and you have made some observations on your own, hopefully you have found a few bucks to hunt during the season. If possible, list out three to five areas with a buck or two to hunt on any given day. Having a few options will make it easier to have a quality hunt, especially if you end up spooking a specific buck one day or another hunter is hunting the same location you were going to try out.
Based upon your observations, you should also be able to identify the best locations to hunt during a specific time of day. Check your journal, look for any patterns in location and direction of travel that you may have observed. List out potential vantage points to glass from during different times of the day. Remember that it’s always best to have the sun at your back.
If everything goes well, you should be able to make three to five stalks per day during the hunt — perhaps even more! Alternatively, if you have the patience, you can make a plan to sit water during a break for lunch, a morning, or an afternoon. It’s all based upon your observations in order to find the best times to be at specific locations.
Remember to continue to take notes during the hunt so you can continually fine tune your game plan.
Take advantage of your antelope tag this year by scouting more efficiently. You don’t have to follow the steps that I follow precisely to be a successful antelope hunter. Rather, you should develop a process that fits your own comfort zone and hunting/scouting style. Try to externalize your process by writing down the steps you follow while scouting. Spend as much time in the field prior to the hunt as possible and, above all else, enjoy the hunt.