



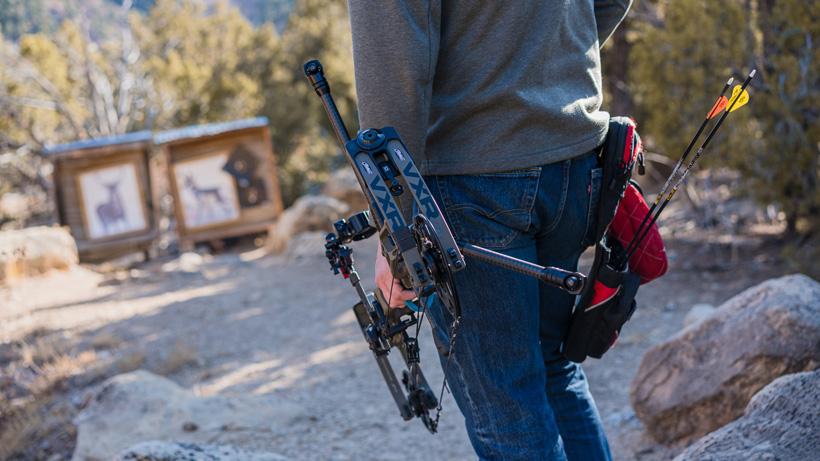
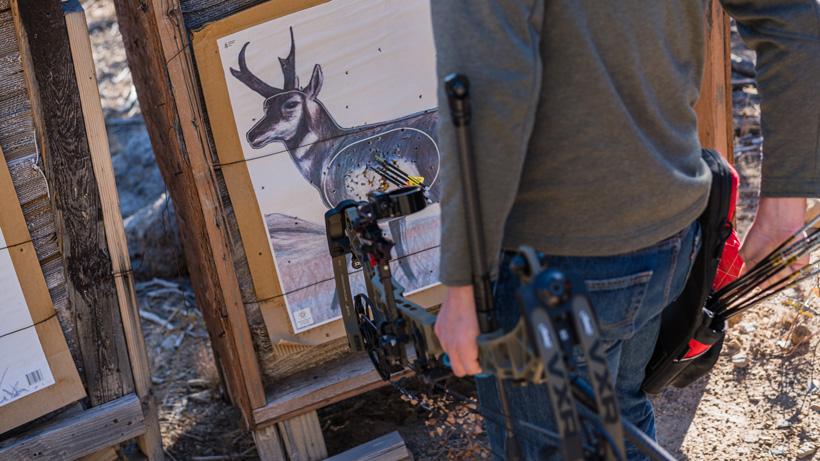

Hopefully, the current pandemic will end soon and we can get back to normal; however, in the meantime, we have an ideal opportunity to work on the details of becoming more accurate and prepared for opening day. I have been thinking about the key components to becoming more accurate and ready when the shot presents itself and I’ll cover those here. If you have tips or tricks that have helped you, please drop those in the comments below. We would love to hear from you.
There may not be anything that impacts your ability to shoot well as having the correct draw length. When I say correct, what I mean is a draw length that allows you to comfortably draw, find your static anchor point, aim (to the best of your ability), execute a shot, and hit your mark repeatedly. Overall, the benefit of finding your correct draw length is that it provides you the best possible platform to aim and execute an accurate shot. Over and over.
The first way to do this is to act as if you are drawing your bow. Extend your bow arm out ahead of you, making a first as if you are holding your bow at full draw. Then, put your fist up against a wall and, with your drawing half, act as if you are drawing and aiming your bow. Make sure you are standing straight up, your bow shoulder is low in the pocket and your head is in a natural shooting position. Make sure your eyes are forward as if you are aiming naturally. After that, have someone measure from the throat of where your grip would sit in your hand to the corner of your mouth.
Another way is to stand up straight with your back to a wall, palms out, and have someone measure from middle finger tip to middle finger tip. Take that number and divide it by 2.5. This is your approximate draw length. You should combine this with the first method and compare the two. Again, draw length is personal and the end goal is to get the best possible aiming bow.
Draw length from the factory comes in half inch increments. Get the draw length closest to your estimated draw length and from there you can tweak your cables/sting to add or subtract a 1/4” if need be.
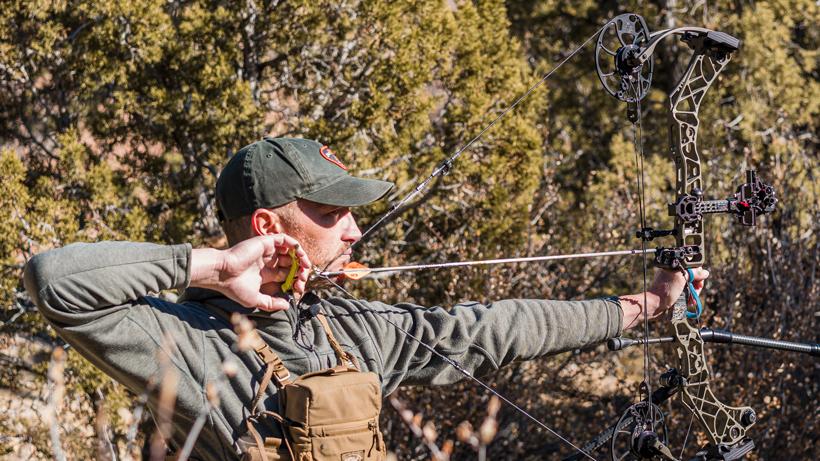
Part of having the proper draw length is having a consistent anchor point. Your anchor point is a combination of three points of reference. Finding and doing those same three anchor points the same way every time is key to repeatability and accuracy. The first reference point is the string to the tip of your nose, the second one is the string to the corner of your mouth, and the last one is your release hand to your face. Since I shoot using a handheld release, I like to lay my index finger just under my jaw bone. My index and middle finger split my jawbone. If you shoot an index finger release, many people like to tuck their first knuckle up under their earlobe. Whatever it is that you pick as your release hand to face anchor point, make sure you can find it and anchor exactly the same way every time.
Tip: I have recently noticed that as I anchor I tend to have some movement in my release hand as I am searching for my anchor. Doing this probably causes me some lost seconds and eventual fatigue. I have been working on drawing and finding my anchor immediately and then beginning the shot process. Also, be aware of the pressure you are putting on the string from your nose and the corner of your mouth. Keep it light!
As previously stated, draw length is important because the proper length is going to give you the best aim and results down range. A couple points of consideration: if you draw, anchor and aim, and your pin movement is either wide, slow sweeping arches or ranges across the target, your draw length may be too long. Conversely, if your aiming pattern is very tight, but your pin movement is rapid and sporadic, your draw length may be too short. The best draw length allows you to hold with your pin, gently floating within your intended point of impact.
Draw weight may not impact your accuracy as much as other factors, but if you are over-bowed, it can take you longer to get into your shooting process. If you have to point your bow up toward the sky and draw down and across your body to pull the weight of your bow back, it’s going to put you in a poor position to acquire your anchor point and it’s also going to take you a bit longer to get your pin to the target. Ultimately, you should select a draw weight where you can hold the bow out in front of you or slightly above shoulder height and then draw the bow with your drawing elbow up and back. Doing so will allow you to go straight to your anchor and pin straight to the target.
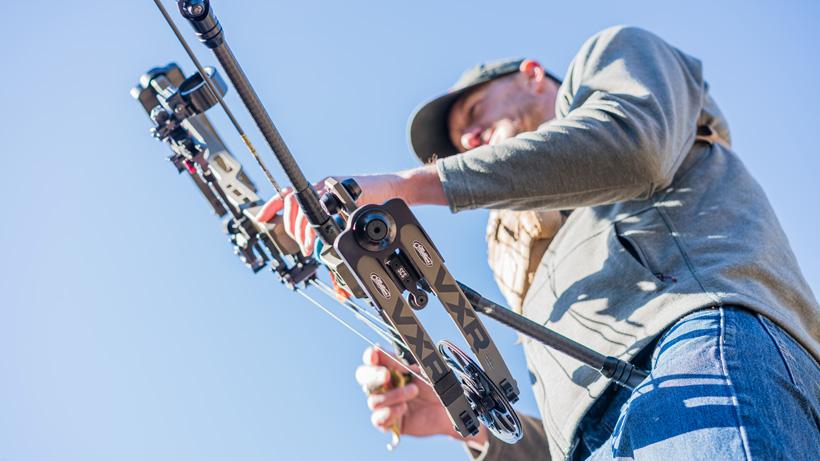
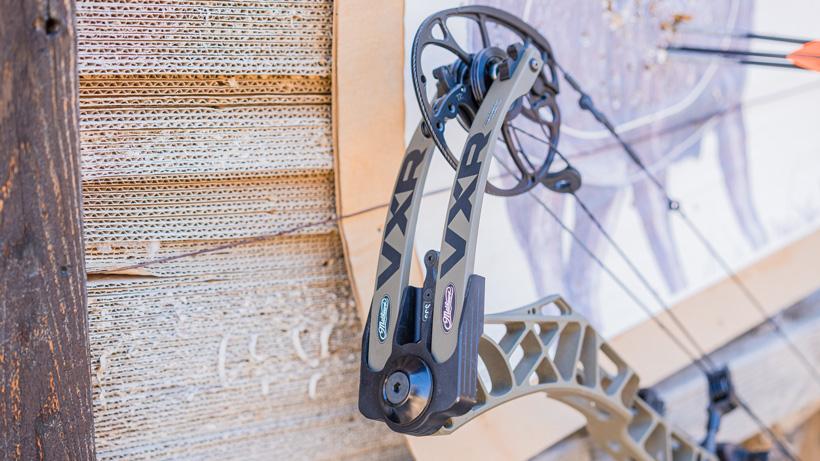
Many new compound bows offer very high let-off — some even creeping up into the 90% range. Meaning that if I was shooting a 70 lb bow, I may only be holding 7 lbs. While that can be tempting, it can cause some issues with aiming because there is very little resistance to pull against. My new Mathews VXR gave me the option of 80% or 85% mods and I find that the added holding weight does give me a slightly better hold and aim. Many new bows give you the options to play with holding weight by adjusting draw stops. Do some tinkering to see if a bit more holding weight actually gives you a better aim.
The best tip I can offer for grip is to keep it relaxed. Your grip hand should be dead with no tension. If you have tension through your bow arm down into your bow hand you will be hard pressed to shoot consistently. A relaxed bow hand will cradle the bow and allow it to jump forward with good follow through as the bow fires. Sometimes all it takes is knowing how you can customize your bow grip.
A few tips:
Keeping your fingers relaxed, lightly place your index and middle fingertips on the front of your riser at full draw. You can even place a couple dots of felt or silicone on the front of your riser to remind you where to place those fingers and keep it loose.
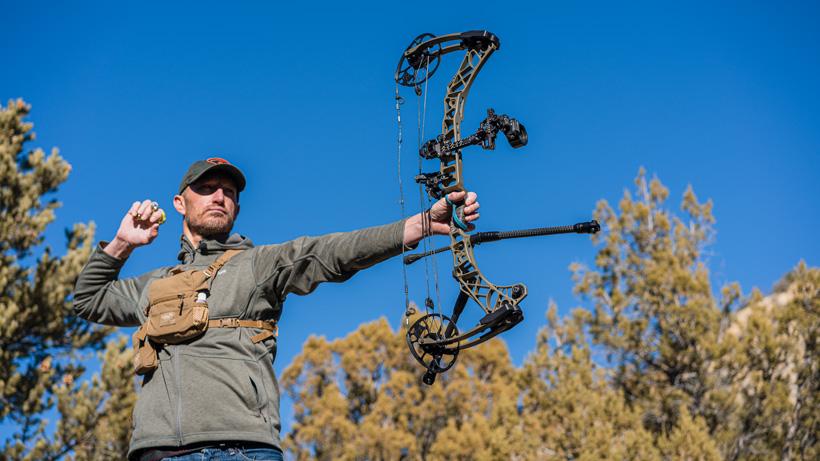
Should I lock my bow arm or shoot with my arm bent? The answer to that is neither. If you think about the mechanics, a bent arm will require you to use muscle to maintain the same aim and, as you can imagine, muscle fatigue. On the flip side, if your bow arm is fully extended, “locked out” there is going to be some tension. Go ahead and try both and you’ll see. Rather, what you want is a nice straight alignment, bone on bone, and relaxed.
Stance is something I think most people have figured out, but it’s still worth touching upon briefly. Two common issues that I see with many new archers are that they will initially take a really wide stance with their feet out past shoulder width. Sometimes you also see the opposite: people standing with their feet close together and perpendicular to the target.
A good stance is slightly open toward the target with your feet about shoulder width or just inside your shoulder width apart. For the most part, a good stance is sturdy, comfortable and repeatable. Try some slight variations with your stance and see how it impacts your aim. For most of us, this type of stance is going to give them the best results.
I’ve written about this before, but so many of us when we get into archery are told we should draw the bow back, put the pin on the target and pull the trigger on the release. It seems quite simple — similar to shooting a rifle. The difference is that, often, we are shooting a rifle from a bench or a really solid rest. We are only in charge of the back half of the rifle and squeezing the trigger. When you are shooting a bow, your back half is pulling against the front half and there is a dynamic relationship between your arm holding the bow and your arm and hand trying to execute a shot. The long story short is that no one can hold the pin perfectly steady on target when shooting a bow. So how do you aim?
It’s important to concentrate on your intended point of impact while letting the pin float over it. Be aware of your pin, but focus on the point of impact. If you think about it, the point you want to hit is not moving; it’s static and consistent. Your pin, on the other hand, is moving and, if you are amped up and excited, it’s probably moving a lot. What happens when you focus primarily on the pin and it moves off the target? Well, for me, it causes anxiety and I lock up. My shot execution process stops and I try to force the pin back into the center. Then I start once again trying to get the shot to go off. The better way is to focus on the spot — the exact spot you want to hit — and let the pin float over your target as you move through the process to execute a shot. Doing this will make your shot timing much more consistent and, for me, it makes me much more accurate.
Another question we get asked is do you settle in from the top or the bottom or do you just try to put the pin straight to the target? There is some debate here and, personally, I am not sure there is a right answer. I do think you should try to get the pin on the target as smoothly and quickly as possible. Some of that is going to depend on the way you draw your bow. For me, I come to full draw with my pins slightly above the target, but very close. I recently listened to a podcast a friend did who is a much better shot than I am. He builds tension as he pulls up into the aim and executes the shot. Logically, that makes sense to me and I’m going to try it. Overall, one point I would make is that the closer your pin is to the target when you reach your anchor point, the better off you will be. Another point is whatever you do, do it the same way every single time.
Shot execution is where I think most people have room to improve. Why is making the shot go off so hard? I think it’s hard because very few people can do two things at the same time. They can’t make the one hand hold the pin on the target and the other hand shoot now! It’s kind of a strained relationship for most people — myself included.
Ten years ago, I almost gave up bowhunting all together because I could not put the action of aiming together with shot execution. Here’s how I fixed it and how I think most top level bowhunters and archers execute a shot.
I am sure people are getting sick of the term “back tension” but I still think it’s the best way to hold and execute a shot. What shooting with back tension means to me is that the holding weight and the shot activation happens because of increasing tension in my rhomboid muscle right behind my shoulder blade. That “back tension” combined with a relaxed bicep, forearm and release hand is what activates the release. When I am doing it right, it feels like, as I draw my bow, the tension is building in my rhomboid as I arrive at my anchor point. I settle in and, at that point, my single focus is on the point I want to hit. As I am staring at my impact point, my bow arm is straight, not locked, but bone on bone and straight. I am holding the draw weight with my rhomboid and as I am “aiming,” I am relaxing through my bicep, my forearm, my wrist and my hand. That process causes me to “rotate or pull through” the shot and the bow goes off.
Hopefully, that paints a picture for you. Basically, what I am trying to achieve is a shot that goes off without me having to make a conscious decision to pull the trigger that second! Rather, I want to aim so the shot will go off somewhat subconsciously.
Follow through is nothing more than the reaction to the bow going off. When the shot goes off, your bow arm should remain and the bow should go straight toward the target while your release hand comes back, almost behind your head. A couple points I would make here are that you should try to keep your head in the same position as the shot breaks. Watch it all the way to the 12 ring. Sometimes I see people move their heads as the shot breaks, trying to see where the arrow impacts. Don’t do that. Trust the shot and just let it go. Become the arrow.
The other point is that I think a wrist sling or a finger sling is a must have. Using one will give you the confidence to to let the follow through happen without the fear of dropping or grabbing the bow at the shot. Will you really drop your bow? Probably not, but why not use a sling and take one worry out of the equation?
A few more tips in conclusion. I am a proponent of building a shot process. Go through it every single shot. It can be many steps or a series of a few simple ones, but I think a shot process is a good idea, especially when you get nervous. For example, my shot process is as follows:
Over the past year, my oldest son has been working really hard to become a better basketball player. We spend quite a bit of time with him shooting foul shots and you’ll often over hear me saying, “Landon, see it. See it go in.” The point is that I think visualizing the process and seeing the shot go in before you toe the line helps. I think it helps a lot in archery as well to visualize the shot, see all the details align and work perfectly, and “see” the shot perfectly executed.
Lastly, if you have ever made the perfect shot, it’s a feeling that is hard to describe. It’s really rewarding and, if you can do it once, you can do it again. Focus on the details, do the work and make this the year that when those opportunities arrive, that the result is automatic.
I also go over everything above in a YouTube video. You can check that out down below.
Don’t death grip the bow; it’s not a pistol grip
Do not cross your lifeline with the bow’s grip.
As you hold your bow hand out, your grip should sit so your knuckles are at 45 degrees.
Check my stance.
Check my grip.
Raise my bow arm and draw smoothly.
Find my anchor points: nose, corner of my lip and hand to jaw bone.
Feel the tension in my rhomboid.
Dead relaxed bow hand.
Align my peep to the housing.
Level my bubble.
Stare at the spot, stare at the spot.
Relax.